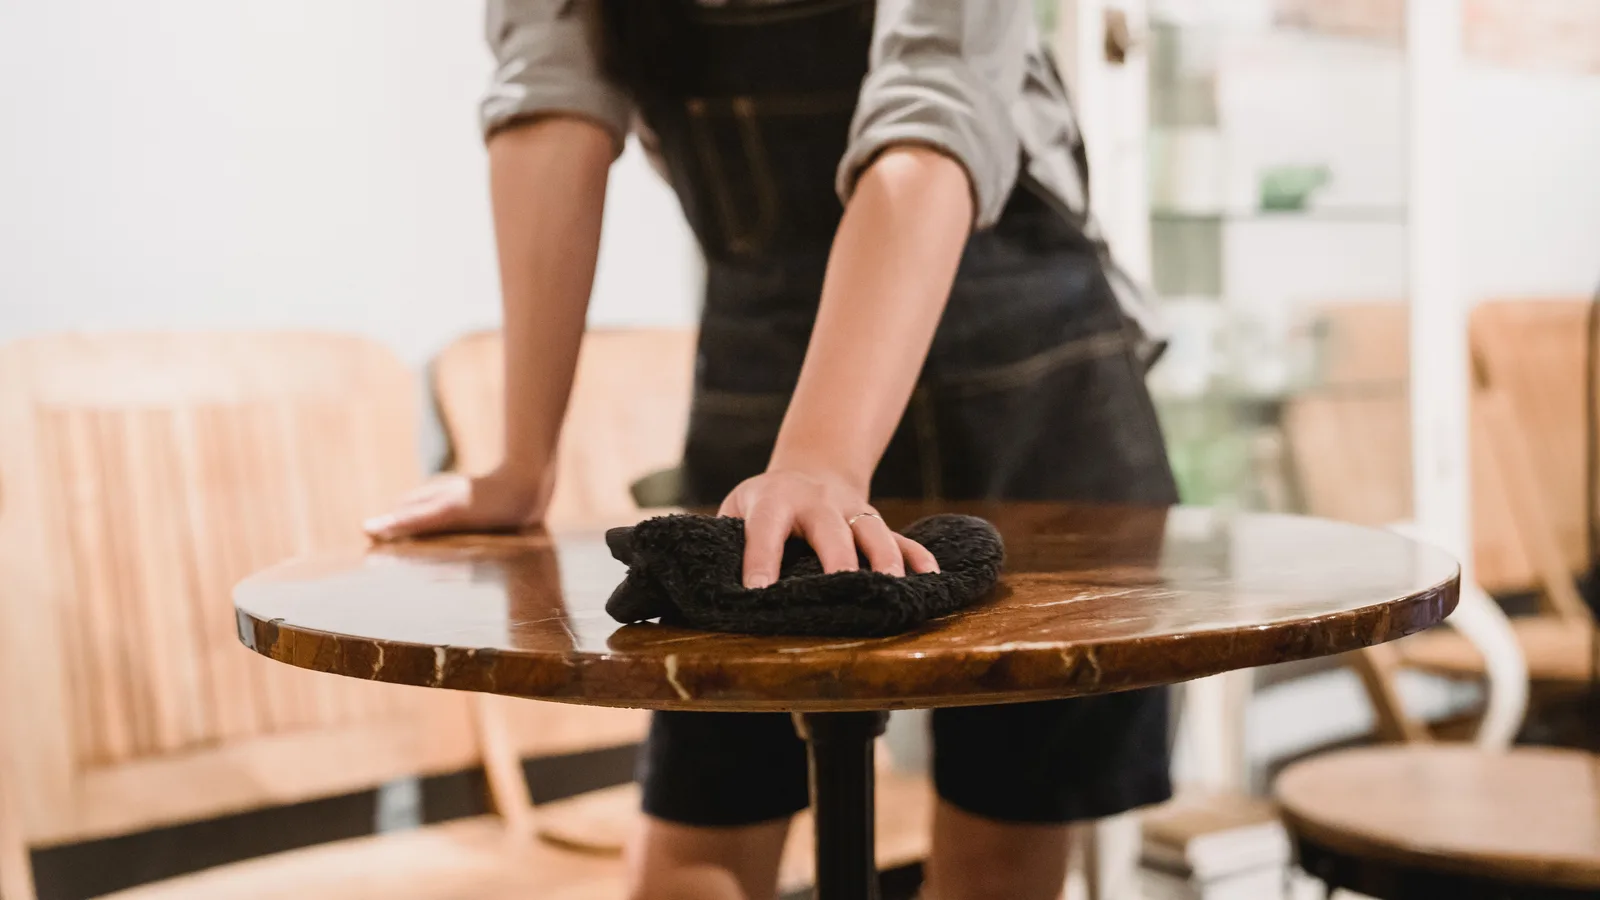
Protect the existing finish first: control water, heat, light, and handling, then use the least aggressive cleaning method the maker allows.
Care for solid wood furniture by protecting the existing finish, controlling water and heat, dusting gently, and treating new damage as a finish problem before trying a remedy. Read the maker's instructions first. If the finish is unknown, stop at dry dusting and prevention until a furniture repairer identifies a safe method.
Start with the finish, not the wood species
Two oak tables can need different care. One may have a tough factory-applied clear coat, another an oil-and-wax finish, and a third a thin historic coating that reacts badly to water or solvent. The visible surface controls the cleaning decision.
Look for the care label, receipt, product page, owner's packet, or a note from the maker. Record whether the piece is solid wood throughout or uses veneer, plywood, engineered panels, paint, metal, stone, or upholstery in some areas. If that question is still open, the solid wood versus MDF guide explains why a material claim for the whole piece can hide different components.
Do not test a finish by scratching it, applying solvent, or sanding an underside. Instead, photograph the piece in good light and test only the maker-approved cleaning method in a small, inconspicuous area. Stop if color transfers, gloss changes, the surface becomes tacky, or a pale mark appears.
Use this finish-first damage table
| What you see | Safe first action | Do not try | Professional boundary |
|---|---|---|---|
| Loose dust | Lift it with a clean, soft, lint-free cloth; support fragile parts | Feather dusters that catch edges, abrasive pads, heavy rubbing | Flaking paint, loose inlay, or a powdering finish |
| Sticky film | Check the maker's instructions; test the least-wet approved method out of sight | Undiluted cleaner, ammonia, alcohol, solvent, or steam | Unknown finish, valuable piece, or broad tackiness |
| Fresh spill | Blot promptly with a clean absorbent cloth, then dry the area | Spreading the liquid by scrubbing or warming it | Swelling, lifted finish, open seams, or liquid inside joints |
| White haze or ring | Remove the source, let the area stabilize, and document the mark | Iron, hair dryer, toothpaste, mayonnaise, ash, or aggressive polish | Mark remains, finish softens, or color changes |
| Scratch or dent | Clean gently and photograph depth and location | Universal marker, stain pen, sanding, or filler before matching the finish | Scratch crosses veneer, exposes substrate, or affects a valuable surface |
| Loose joint | Unload the piece and stop using or moving it | More screws, nails, general-purpose glue, or dragging | Any structural joint, broken leg, split rail, or unstable chair |
| Lifting veneer | Protect the loose edge from handling and save any detached piece | Sanding, soaking, ironing, clamping without cauls, or household glue | Repair before more veneer breaks away |
| Holes, fresh powder, or insects | Isolate the piece from other wood and photograph the evidence | Indoor pesticide, heat, freezing, or wrapping without expert direction | Conservator or pest professional identifies and treats the cause |
| Mold or major water damage | Move people away if conditions are unsafe and fix the moisture source | Dry brushing spores through the room or hiding damage with polish | Qualified remediation and furniture advice based on the extent and value |
Our view: a white ring is cheaper to leave alone for a day than to turn into a stripped tabletop in ten minutes. Many quick fixes rely on heat, abrasion, oil, or solvent without knowing what finish is present. That gamble is poor care.
Set up the room to prevent most damage
Walk around the piece in daylight. Direct sun can change wood color and weaken or discolor a finish over time. Use a curtain, blind, or a different position to break the strongest exposure. Rotate movable objects occasionally so a vase or lamp does not leave one protected patch while the rest of the top changes.
Keep furniture away from radiators, fireplaces, baseboard heaters, supply vents, and other concentrated heat. Avoid a damp exterior wall, an open window that admits rain, and plumbing or plant-watering routes. The Canadian Conservation Institute and Smithsonian both warn against direct light, moisture, concentrated heat, and large environmental swings.
Wood gains and loses moisture as surrounding conditions change. The USDA Forest Products Laboratory describes that moisture relationship and the resulting dimensional change. You do not need to chase one perfect humidity number for every species and construction. You do need to avoid sharp, repeated swings and correct a house problem when doors bind, joints open, veneer lifts, mold appears, or condensation keeps returning.
Put coasters where drinks are actually set down. Use an insulated trivet for hot cookware and a washable mat for a child's art supplies, a coffee station, or plant care. Do not set a planter directly on wood. Felt tabs can keep a protective glass top from sticking to the finish, but glass must be sized and supported for that table.
Build a low-risk cleaning routine
- Clear the surface. Lift lamps and decor instead of sliding them. Check felt or soft pads for grit before putting items back.
- Inspect before cleaning. Look for loose veneer, flaking finish, cracks, wobbly joints, dampness, insect powder, and sharp hardware.
- Remove dust gently. Fold a clean soft cloth into a pad and turn it as it collects soil. Do not press dust across the surface.
- Use moisture only when allowed. If the instructions permit a barely damp cloth, test out of sight, work a small area, and dry promptly with a second cloth.
- Stop on a reaction. Color transfer, dulling, tackiness, swelling, raised grain, or a pale patch means the method is wrong for that surface.
The Canadian Conservation Institute notes that unfinished wood should not be wet-cleaned and that some older furniture is sensitive even to water. Smithsonian preservation guidance favors gentle dusting with a soft, lint-free cloth and avoiding harsh commercial cleaners. Neither source supports spraying an unknown product over every wooden surface in the house.
Silicone spray, strong solvent, steam, abrasive powder, and scouring pads can create damage or leave contamination that complicates repair. Oils and waxes are not routine nutrition. Use them only when the maker's care system or a qualified professional identifies the finish, product, amount, and application method. Keep metal polish off the surrounding wood and finish.
Know the solid wood, veneer, and damage boundaries
Solid wood can often be repaired, but that does not make every repair a sanding project. Removing finish or wood changes edge profiles, color, patina, and the fit of adjoining parts. Thin tabletop edges, carvings, inlay, and previously repaired areas need extra restraint.
Veneer is real wood laid over a substrate. It may be thin enough that one enthusiastic sanding pass cuts through it. A blister, lifted edge, missing chip, or dark line at a seam calls for repair before cleaning or refinishing. Painted surfaces and mixed-material furniture have their own coating and adhesion questions; care for the visible finish, not the marketing label.
Age and value change the boundary too. Original finish can carry evidence of how an antique was made and used. The Canadian Conservation Institute advises preserving old finishes and sending extensive cleaning or repair to a conservator. For an heirloom, signed piece, unusual construction, or uncertain value, get an appraisal or conservation opinion before stripping anything.
Move furniture only after emptying it and checking joints. Remove drawers, shelves, and loose doors when the maker's design permits. Lift a table by strong structural parts such as the apron, not by the top; lift a chair by the seat rails, not the arms or back. Get help for heavy pieces and plan the full route. The furniture delivery-path checklist is useful even when the piece is already yours.
The 4Homes weekly email
Every Tuesday: what changed for homeowners this week, plus our newest guides.
No spam. Unsubscribe anytime.
Budget for prevention before refinishing
Basic prevention usually means using cloths you can wash, coasters and trivets you already own, replacing dirty felt pads, and moving the piece out of a bad exposure. Price those exact supplies locally rather than buying a large furniture-care kit whose products may not match the finish.
Professional work is a different budget. Angi's 2026 refinishing cost guide reports a typical national range of $341 to $939, with dining tables around $400 to $1,200 and minor touch-ups around $30 to $75. Angi also lists pickup and delivery at roughly $50 to $150 each way. These are planning ranges, not quotes; size, finish, veneer, carving, structural work, location, and conservation needs can move the price sharply.
| Quote line | What should be written down |
|---|---|
| Condition | Loose joints, missing material, veneer damage, water marks, previous repairs, and finish condition |
| Treatment | Cleaning, stabilization, spot repair, color matching, partial finish work, or full refinishing |
| Materials | Adhesives, fills, color, coating, sheen, and compatibility with the existing finish |
| Handling | Pickup, protection, disassembly, storage, delivery, and reassembly |
| Result | What damage will remain visible, cure time, care instructions, warranty, and photos |
Ask two qualified shops to price the same written outcome, and use the quote comparison method to expose missing work. A repairer may be right for a modern table or loose chair. A conservator is the safer choice when retaining original material and finish matters more than making the piece look new.
How to save money without creating a bigger repair
Prevention wins: place coasters and trivets at the point of use, replace gritty pads, close the blind during hard sun, and deal with a leak before it reaches the furniture. Keep the maker's care sheet and a photo of the label in your home inventory. That record helps a repairer identify materials and helps document the piece after a loss.
Do not pay for full refinishing when a shop can stabilize a joint or make a small finish repair. Ask what original material can stay. Combine pickup for several pieces only when each has a separate written scope, and compare repair cost with replacement value and personal value rather than price alone. If you are still furnishing the house, the staged furniture budget can keep care and repair money from being swallowed by the next purchase.
Solid wood furniture care checklist
- Save the maker, model, materials, finish, receipt, and care instructions.
- Keep direct sun, concentrated heat, recurring dampness, and plumbing leak paths away from the piece.
- Use coasters, insulated trivets, washable mats, and clean soft pads where damage starts.
- Dust with a clean, soft cloth and use damp cleaning only when the known finish allows it.
- Blot spills promptly; do not scrub or add heat.
- Skip universal oiling, silicone spray, steam, abrasives, solvents, and viral stain remedies.
- Unload unstable furniture and lift by strong structural parts instead of dragging it.
- Refer loose joints, lifting veneer, insects, mold, major water damage, valuable finishes, and refinishing to the right professional.
Frequently Asked Questions
What is the safest way to clean solid wood furniture?
Start with the furniture maker's care instructions and the least aggressive method. Remove loose dust with a clean, soft cloth. If the known finish permits damp cleaning, use a barely damp cloth on a hidden area first, then dry the surface promptly. Do not assume bare wood, painted wood, veneer, and every clear finish can take the same cleaner.
Should solid wood furniture be oiled?
Only when the manufacturer or a qualified furniture professional confirms that the existing finish is meant to receive that oil. Finished wood does not need to be fed, and oil applied over lacquer, varnish, paint, wax, or an unknown finish can leave residue or complicate a later repair. Do not put food oil on furniture because it can turn rancid.
Does humidity damage solid wood furniture?
Large or repeated humidity changes can make wood gain and lose moisture, which can contribute to movement, splits, loose joints, lifting veneer, and finish damage. Keep furniture away from heat vents, radiators, damp walls, plumbing leak paths, and rooms with large seasonal swings. Investigate condensation, mold, or a persistent damp smell instead of treating the surface alone.
How do I protect a wood table from heat and water rings?
Use clean coasters under drinks, an insulated trivet under hot dishes, and a washable mat where spills are likely. Blot a spill promptly rather than rubbing it across the finish. Skip viral iron, hair-dryer, toothpaste, mayonnaise, and abrasive remedies; white haze can sit in the finish, and added heat or friction can make the damage harder to repair.
When should damaged wood furniture go to a professional?
Get professional advice for loose or broken joints, lifting or missing veneer, flaking or historically important finishes, mold, active insects, major water damage, deep burns, widespread finish failure, or any piece whose value is uncertain. A furniture repairer handles ordinary structural and finish work; a conservator is the better fit for an antique, heirloom, signed, or historically important piece.