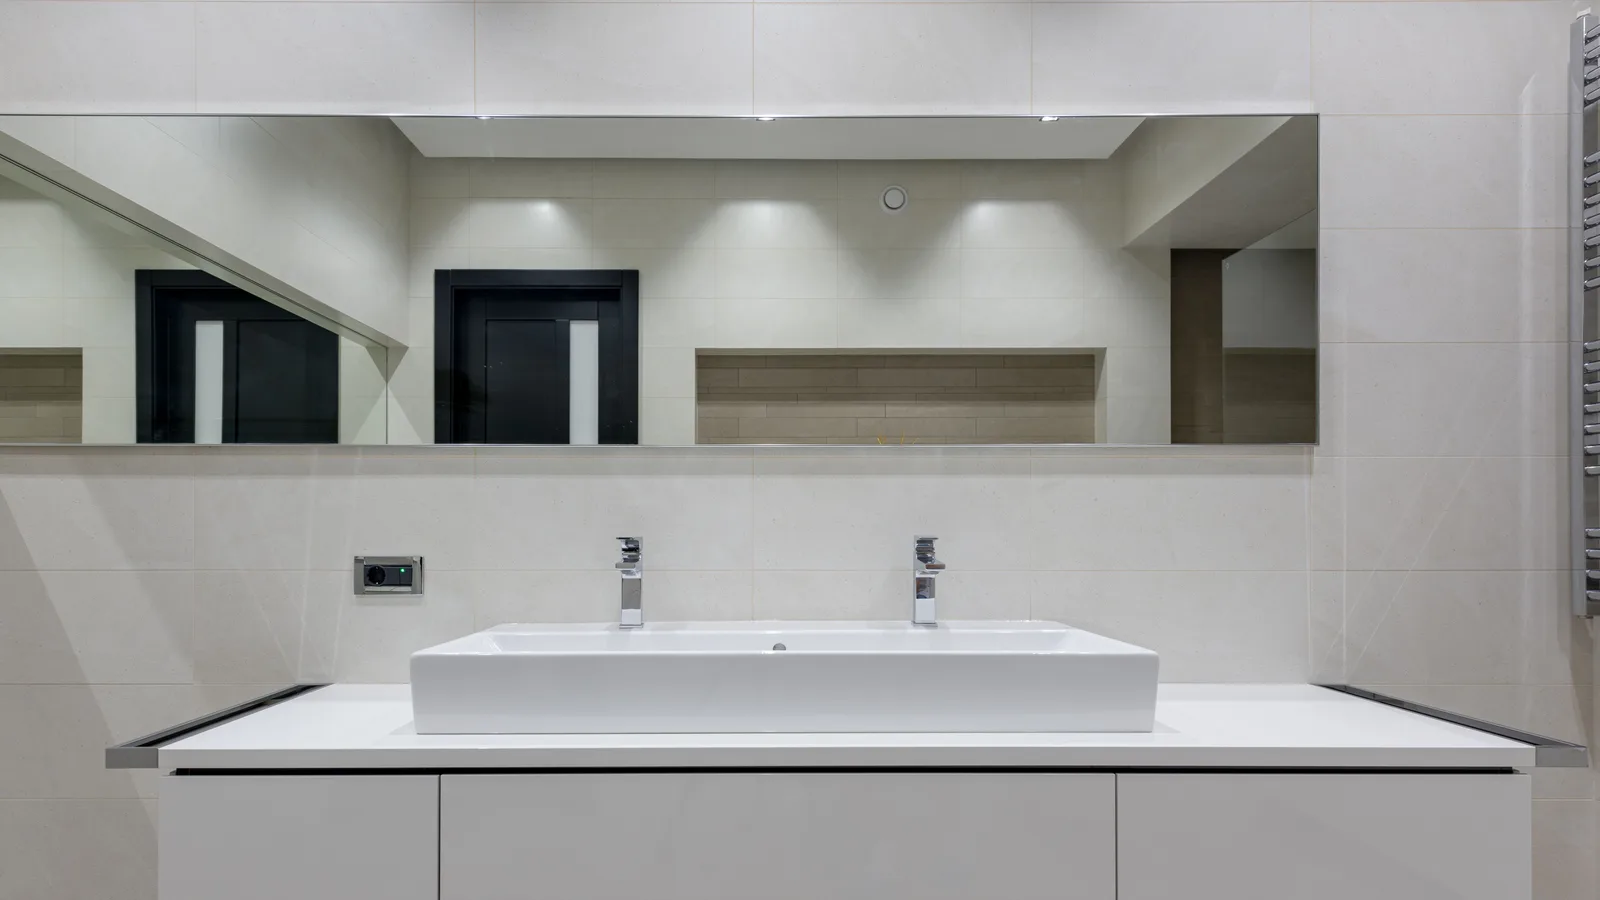
Prove the bathroom is dry, ventilated, and sound before spending the project on finishes that may have to come back out.
The right bathroom refresh begins by deciding whether the room needs a refresh at all. Cosmetic work is reasonable when the room is dry, sound, ventilated, and functional. Active leaks, soft flooring, recurring mildew, loose fixtures, damaged electrical devices, failed grout or sealant at a wet assembly, and a fan that cannot manage moisture are repair or remodel questions. Covering those clues with paint and accessories makes the room newer-looking without making it healthier.
First gate: prove the room is dry
Look under the sink with the water running. Check visible supply connections, the trap, cabinet floor, toilet base, tub or shower edges, and the ceiling below if there is an accessible room underneath. Fresh staining, swelling, crumbling material, mineral tracks, or a musty odor deserve attention. A toilet that rocks or a floor that gives underfoot is not a caulk-and-paint job.
Water at a shower or tub can come from plumbing, failed seals, the enclosure, or the waterproof assembly behind the finish. Replacing surface caulk may be appropriate where the joint is designed to be maintained that way, but it is not a diagnosis for water appearing outside the bathing area. Use the home water-leak plan if moisture is active, spreading, near electrical equipment, or affecting the ceiling below.
Second gate: clear the air
A bathroom that stays damp will age every new finish quickly. Run the exhaust fan and listen for an abnormal sound, but do not assume noise proves airflow. Confirm that the fan exhausts outdoors, not into an attic or another interior space, through a qualified inspection when the route is unknown. Clean only homeowner-accessible grilles according to the manufacturer's instructions; internal electrical and duct work belongs with the appropriate professional.
The EPA's indoor air quality guidance puts source control and ventilation ahead of trying to filter away a moisture problem. After bathing, moisture should leave the room rather than settling on the ceiling, window, and back of the door. Persistent condensation, peeling paint, recurring growth, or a fan that does not exhaust properly should be resolved before decorative work begins.
Fix daily friction before choosing finishes
Walk through an ordinary use of the room. Where does a towel land? Is the mirror lit from a useful angle? Does the medicine cabinet open into another door? Can cleaning tools reach behind the toilet and around the vanity? Does stored clutter exist because the room lacks a home for everyday items, or because the room simply holds too much?
Make a short friction list and rank it. A better fan control, working drawer, reachable towel hook, stable toilet seat, clear counter, and light at the mirror often change the experience more than a new faucet finish. If accessibility is part of the goal, treat grab bars, clearances, controls, slip resistance, and blocking as design requirements from the start. A decorative bar is not a substitute for a properly selected and anchored grab bar.
The 4Homes weekly email
Every Tuesday: what changed for homeowners this week, plus our newest guides.
No spam. Unsubscribe anytime.
Choose a scope that stays in its lane
A true refresh keeps the basic room intact. It might include paint suitable for the location, hardware, a mirror, storage, lighting within an approved existing scope, and renewed manufacturer-recommended seals. A repair corrects a known failure. A remodel changes fixtures, wet-area assemblies, plumbing, electrical work, ventilation, or layout. Naming the scope honestly helps prevent a weekend job from opening a wall without a permit, plan, or available trade.
Build the finish palette after the scope is stable. Limit the number of permanent statements. Tile, vanity, countertop, and large plumbing fixtures are harder to change than towels, art, and a small mirror. Bring actual samples into the room and view them with the bathroom light on and off. Highly polished materials may show water spots and glare; deep texture may collect dust or be harder to wipe. The most useful finish is one the household is willing to maintain.
The EPA's WaterSense home-maintenance guidancedescribes simple leak checks and fixture care. Follow each product's cleaning instructions, especially on coated hardware and stone. Harsh or incompatible cleaners can damage a new finish long before ordinary use does.
Close the room properly
Plumbing alterations, new receptacles or lights, circuit work, fan replacement, structural changes, and waterproofing assemblies should be designed and completed by qualified people under local rules. Wet-area mistakes can stay hidden until damage reaches the next room. Any exposed wiring, hot device, burning smell, sewage backup, widespread growth, or material suspected of containing a hazardous substance is a stop-work condition.
Before calling the refresh complete, run every fixture, fill and drain the basin, flush the toilet, use the shower, operate the fan, and inspect adjacent surfaces. Photograph shutoffs, model labels, and completed work for the house file. The best bathroom refresh is not the one with the longest shopping list. It is the one that leaves the room dry, easy to use, simple to clean, and honest about what still needs professional work.