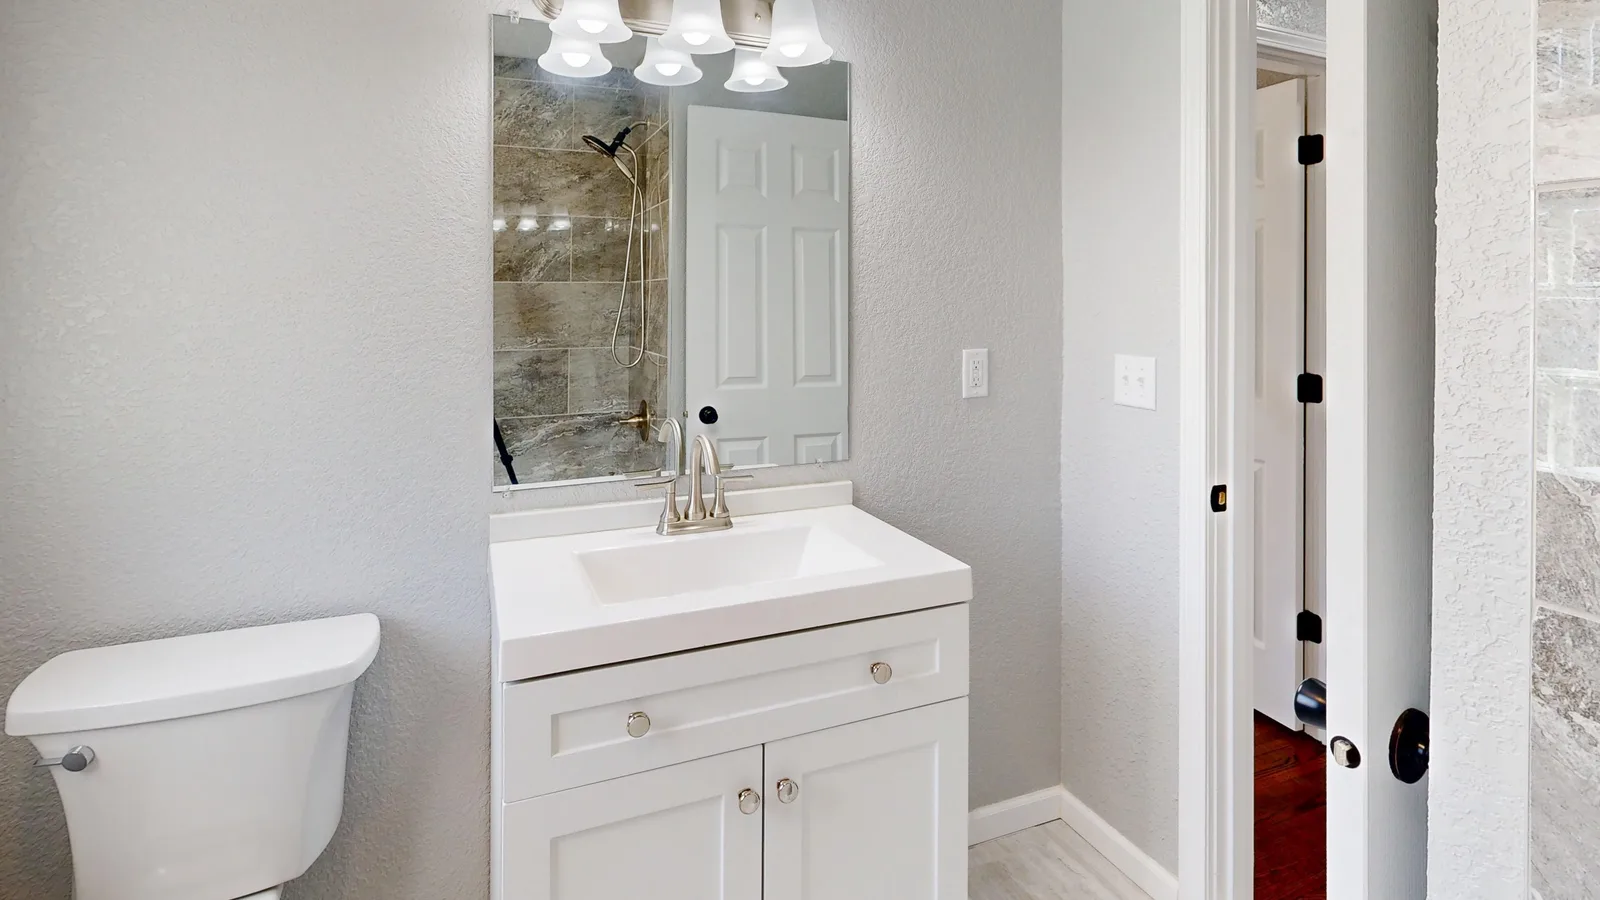
Set the mirror by real user sightlines and the vanity, faucet, light, and mounting envelopes, then tape the full elevation before drilling.
Hang a bathroom mirror where its reflecting surface serves the shortest and tallest regular users while the frame clears the backsplash, faucet, and light fixture. There is no universal number above the vanity that settles all of those conditions. Tape the complete outline on the wall, mark the actual mounting points, and test the sightlines before drilling.
Mirror hanging height is the planned vertical position of the whole mirror, including its frame, useful reflecting surface, mounting hardware, and required clearances. The bottom edge of the frame is not necessarily the bottom of the reflection, and the visible outline is not necessarily where the cleat or screws land.
Start with faces, not a stock measurement
Have the shortest and tallest people who use the bathroom regularly stand at the vanity in their normal positions. Mark each person's eye level on a strip of painter's tape, then check what they need to see: hairline, full face, chin, and upper torso. A child's current height may change quickly, but an adult who uses a wheelchair or a much shorter adult should not be treated as a temporary exception.
The useful test is the reflecting surface, not the decorative frame. A thick frame, bevel, arch, shelf, or unmirrored light band can consume several inches inside the product's advertised dimensions. Draw that inner reflecting boundary on the taped mockup. If the shortest user sees only forehead and the tallest user loses the top of their hair, shifting the same mirror may help; if not, the mirror is too short for the household.
Our view: the right elevation is the one that works for the people in the room, even when it differs from a showroom photograph. A neat gap means little if someone has to crouch every morning.
Build the elevation from the fixed obstacles
Work from both directions. From below, the backsplash, faucet, handles, raised vessel sink, open medicine-cabinet door, and cleaning access establish the lower envelope. From above, a sconce, bar light, sloped ceiling, trim, electrical box, and the fixture's required clearance establish the upper envelope. Side sconces and nearby cabinet doors create a width envelope too.
| Boundary | What to record | What can go wrong |
|---|---|---|
| Shortest user | Lowest useful point of the reflecting surface | The frame clears the faucet but the face is cut off |
| Tallest user | Highest useful point of the reflecting surface | The light forces the mirror too low |
| Vanity and backsplash | Highest finished surface plus room to clean and follow product instructions | The mirror traps water or cannot sit flat |
| Faucet envelope | Handle travel, spout height, lift rod, spray hose, and splash path | Hardware strikes glass or blocks operation |
| Light envelope | Fixture body, shades, lamp access, electrical box, and listed clearances | The mirror overlaps the fixture or prevents service |
| Mounting system | Cleat, clip, bracket, screw, and anchor locations | A safe outline produces unsafe holes |
Do not invent a generic faucet-to-mirror gap. Kohler's instructions for one powered mirror with pivoting panels require three inches of clearance from obstacles such as a faucet or light fixture, but that is a product-specific rule for that model. A fixed flat mirror may use different hardware and clearances. Read the instructions for the exact mirror, faucet, and light.
Use painter's tape as an elevation worksheet
- Draw the whole mirror. Tape the outside width and height, including frame, shelf, light band, or moving panels.
- Draw the reflection. Add a second outline for the actual glass or useful reflective area.
- Mark user sightlines. Put the shortest and tallest regular users' eye levels on the tape. Check face and hairline at normal standing or seated distance.
- Mark the lower envelope. Trace the backsplash top and the highest point reached by faucet parts in normal operation. Leave the exact clearances required by the product instructions.
- Mark the upper and side envelopes. Include light shades, cabinet doors, trim, outlets, switches, ceiling changes, and room needed to replace a lamp or service a fixture.
- Transfer the hardware geometry. Use the mirror's instructions to mark the cleat, Z-clips, J-hooks, brackets, or screws. Do not guess from the frame edge.
- Check behind every proposed hole. Review plans, photos, stud locations, plumbing routes, electrical boxes, and both sides of the wall. A detector is one clue, not proof that a drilling path is clear.
- Photograph the finished worksheet. Include a level and tape measure in the image so the layout survives after the tape comes down.
Leave the tape up for a morning and an evening. Use the sink, swing the doors, turn on the light, and stand where people actually shave, style hair, or help a child. The taped outline often looks different once the room is occupied.
Let the mirror size solve the sightline problem
A taller mirror gives more freedom than a shallow decorative one. If the lower boundary is fixed by a tall faucet and the upper boundary by a light, a short mirror can leave no workable elevation. Before moving the light or accepting poor sightlines, test a taller, narrower mirror or a pair of mirrors that fits the vanity layout.
Width is a composition decision with practical consequences. A mirror over one basin can center on the faucet; a long mirror may align with the vanity; two mirrors can serve two sinks. Keep enough side room for sconces, outlets, cabinet doors, and fingers needed to lift the mirror onto its hardware. If the mirror has doors or pivoting panels, tape their swept path as well as the closed outline.
For broader room planning, use the bathroom refresh priorities before changing plumbing or lighting. The same full-size mockup method is useful when you plan paint around fixed finishes or measure openings before ordering.
Accessibility is a design input, not a borrowed label
U.S. Department of Justice 2010 ADA Standards Section 603.3 says mirrors above lavatories or countertops in covered facilities must have the bottom edge of the reflecting surface no higher than 40 inches above the finish floor; mirrors elsewhere have a different condition. That is a limited covered-facility reference. It is not a blanket command for every private home, and copying one dimension does not make a bathroom accessible.
For a household member who uses the room seated, test the actual approach, knee space, reach, faucet, lighting, and reflection together. A tilting mirror may help in some rooms, but its hardware, projection, and pinch points still need review. For a regulated project or a renovation intended to meet accessibility requirements, use the applicable code, designer, and local authority rather than this article as a compliance checklist.
The 4Homes weekly email
Every Tuesday: what changed for homeowners this week, plus our newest guides.
No spam. Unsubscribe anytime.
Mounting points decide whether this is a DIY job
Robern's decorative framed mirror instructions use two Z-clips, specified screws and washers, supplied anchors where no stud is available, and adhesive pads at the lower corners. That does not make Z-clips or those anchors correct for another mirror. Use the exact manufacturer package and confirm that the wall material, fastener locations, and mirror weight fit it.
Glass is awkward even when the listed weight seems manageable. Robern and Kohler instructions warn that mirrors can be heavy, call for assistance on relevant models, and require the mirror to be supported during installation. Wear appropriate eye and hand protection, protect the vanity and floor, and never rest a glass edge on a hard counter. Tile needs the correct bit, drilling method, edge distance, and substrate plan; cracking a tile or missing sound backing is not a minor adjustment.
Stop before drilling if a proposed hole could meet plumbing, wiring, an electrical box, a vent, blocking you cannot verify, or an unknown cavity. A bathroom wall commonly hides both water and power. For a powered or lighted mirror, the electrical boundary is firm: Kohler's powered-mirror instructions call for a qualified electrician to route wiring, require power to be disconnected, and specify circuit protection and local-code compliance for that product. Do not run a cord behind the mirror, bury a plug, or improvise a junction.
Cost planning without buying twice
Retail examples show why the mirror itself and the installation should be separate budget lines. Home Depot listed a 24-by-36-inch Glacier Bay frameless vanity mirror at $44.97 and an OOK eight-pack of quarter-inch mirror clips at $6.27. Those are examples, not a promise that the clips fit that mirror or wall. The manufacturer's included or specified hardware controls.
Angi's planning data lists small bathroom-vanity mirror installation at $80 to $250. Local minimum charges, tile, heavy glass, difficult access, custom cutting, wall repair, added blocking, or electrical work can move a quote outside that range. Ask for the lift crew, mounting method, wall assumptions, protection, electrical scope, patching, cleanup, and disposal to be written down.
Save money by doing the noninvasive planning first: measure, tape, verify the model instructions, photograph likely hazards, and settle the mirror size before anyone opens the wall. Keep the packaged hardware and return eligibility intact until the taped outline passes. If several small bathroom changes are planned, combine only compatible trade tasks and compare them with a clear contractor quote worksheet.
Call a pro when the consequence is bigger than the hole
Hire a glass installer or qualified contractor for large or heavy glass, uncertain wall construction, a mirror that requires two trained handlers, drilling through tile you cannot replace, custom cleats or blocking, or any mount whose capacity cannot be verified. Use a plumber when the drilling area conflicts with a known or suspected water line. Use a licensed electrician for powered mirrors, relocated boxes, new wiring, switches, or uncertain bathroom electrical protection.
Stop immediately for cracked or chipped glass, a loose mount, a wall that flexes, water staining, a detector response you cannot explain, a warm or damaged electrical component, or instructions that do not match the hardware in the box. Tape is cheap. A second set of holes behind heavy glass is not.
Sources used
U.S. Department of Justice, ADA Standards for Accessible Design, Section 603.3; Robern, Decorative Framed Wall Mirror Installation Instructions; Kohler, Voice Lighted Mirror Installation and Care Guide; Home Depot online product listings; and Angi, How Much Does It Cost to Install a Mirror?
Frequently Asked Questions
How many inches should a mirror be above a bathroom vanity?
There is no universal gap that works for every vanity, faucet, mirror, light, and user. Start with the clearance required by the faucet, backsplash, and mirror instructions, then tape the full mirror outline and check the reflecting surface for the shortest and tallest regular users before drilling.
Should a bathroom mirror be centered over the sink or the vanity?
Center it on the visual composition that matters in the room. A single mirror over one basin usually looks deliberate when centered on the faucet or sink, while a wide mirror may relate better to the whole vanity. Confirm that the useful reflecting area still serves each regular user and that mounting points avoid hidden hazards.
How high should the bottom of a bathroom mirror be from the floor?
Set the bottom by the people and fixtures, not a generic floor measurement. The reflecting surface should be low enough for the shortest regular user while clearing the backsplash and faucet. In facilities covered by the 2010 ADA Standards, Section 603.3 sets separate requirements; that standard is not a blanket rule for every private bathroom.
Can I hang a heavy bathroom mirror by myself?
Do not handle a large or heavy glass mirror alone. Use the manufacturer-specified cleat, clips, anchors, fasteners, and wall conditions, and get another capable person or a glass installer to lift and support it. Powered mirrors also require the electrical work and protection stated in the product instructions and local rules.