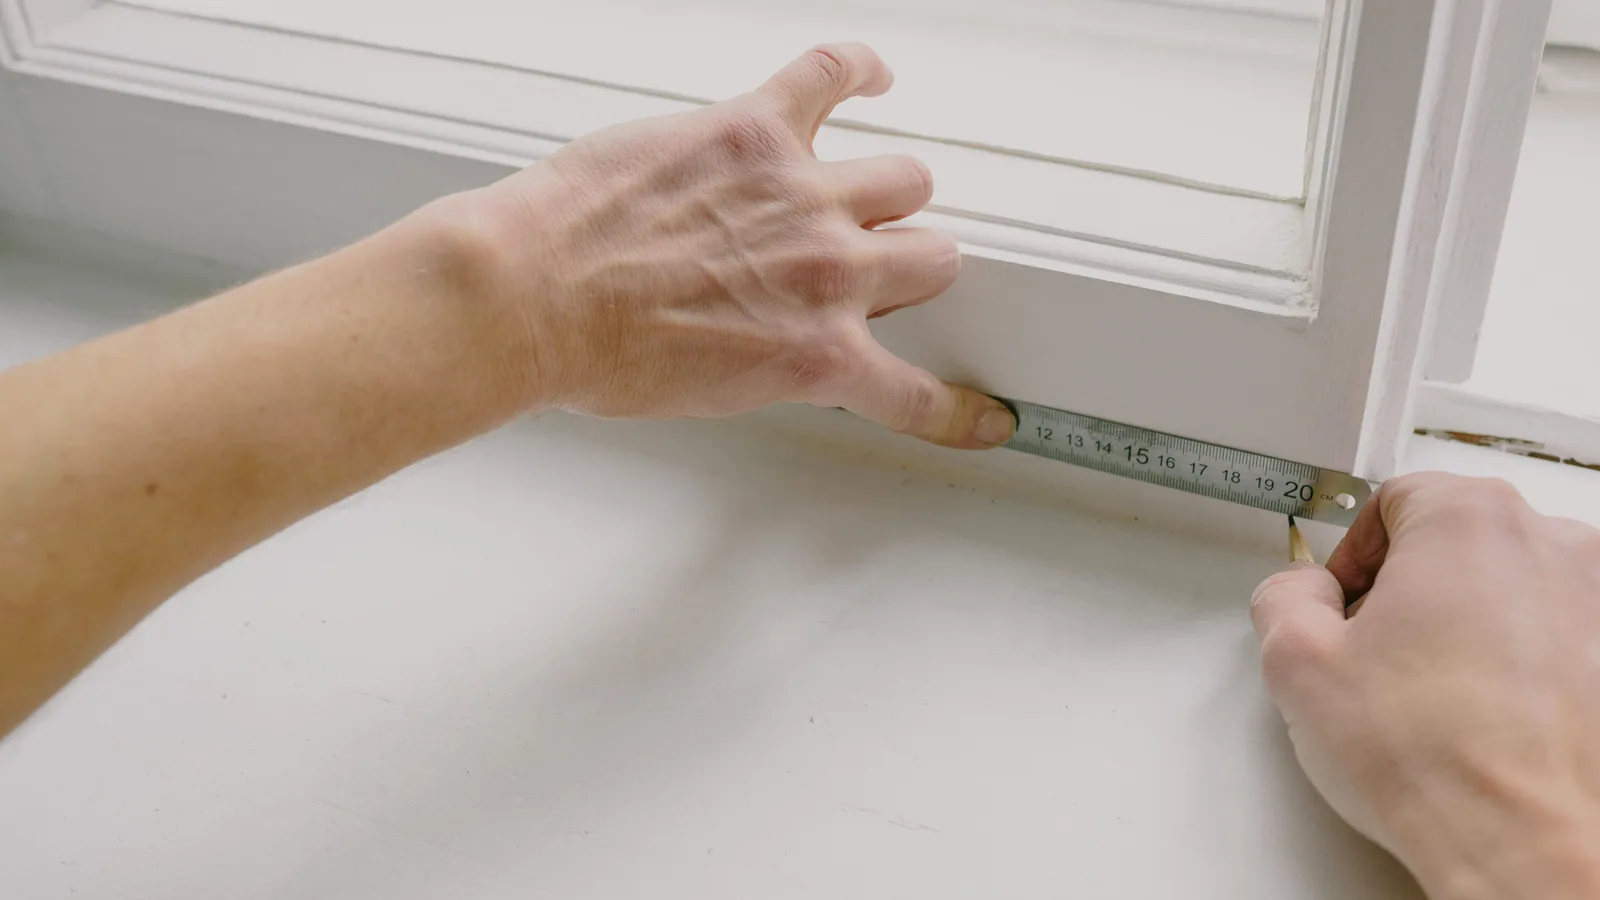
Choose the mount, record three widths and heights, verify usable depth and obstructions, and let the exact product instructions control deductions.
Choose inside or outside mount before measuring, then follow the exact blind manufacturer's worksheet. For a typical inside mount, record three widths and use the narrowest, record three heights and use the longest, and give the factory the exact opening only when its instructions say it will make the deduction. Check usable depth, moving-window parts, and every obstruction before ordering.
Decide the mount before writing a number
An inside mount sits within the window opening. It can leave trim visible and keep the treatment compact, but it needs enough flat mounting depth and operating clearance. An outside mount attaches to the trim or wall around the opening. It can cover a shallow or crooked recess and improve light overlap, but it needs a sound, flat bracket surface and room around the trim.
| Condition | Inside mount may work | Outside mount may work better |
|---|---|---|
| Depth | Exact product has enough unobstructed bracket depth | Recess is shallower than the product requires |
| Window shape | Opening is consistent enough for the product to travel freely | Opening narrows, bows, or is notably out of square |
| Light control | Some edge light is acceptable | Overlap is needed to reduce side gaps |
| Obstructions | Locks, cranks, sensors, and sash clear the treatment | Hardware occupies the required depth or travel path |
| Trim | You want trim visible | You want to cover uneven or damaged trim |
Do not settle the choice from appearance alone. Open, close, lock, tilt, and clean the window. Mark the sweep of handles and cranks. Check a protruding sill, alarm sensor, removable screen, tile edge, and the path of a tilt-in sash. For room layout around the finished window, use the small-bedroom planning guide rather than ordering a treatment that conflicts with furniture.
Make one worksheet for every opening
Use a steel tape, pencil, level if the product instructions call for one, and a stable step stool. Measure each opening separately, even when two windows look identical. Label them by room and position, not "window one." Always write width first, then height.
| Window ID | Mount and product | Numbers to keep | Checks |
|---|---|---|---|
| Room + wall + position | Inside or outside; exact collection and lift type | Three widths, three heights, shortest usable depth | Crank, lock, sensor, screen, sill, sash, tile, trim |
| Ordering line | Manufacturer's unit and rounding rule | Final width × height, clearly marked | Factory deduction, finished fabric width, return terms |
| Installation line | Bracket type and mounting surface | Headrail projection and stack height | Fastener instructions, hidden utilities, cord safety |
Take the full set twice, preferably on different passes. A wide window is easier with a second person keeping the tape level. Never measure the old blind as a substitute for the opening; its factory deduction, product design, or original fit may differ from the new one.
Measure an inside mount without inventing a deduction
- Width: measure the inside opening at the top, middle, and bottom. For many horizontal blinds and shades, circle the narrowest result.
- Height: measure from the inside top to the sill at left, center, and right. For many products, circle the longest result.
- Depth: measure the shortest usable front-to-back depth where the brackets and headrail will sit, accounting for glass stops and obstructions.
- Diagonals or level: check squareness when the manufacturer's instructions require it or the three measurements differ noticeably.
- Submit: apply that product's rounding rule and deduction instruction, not a rule borrowed from another blind.
Levolor's general guide uses three widths, three heights, the shortest width, the longest height, and no homeowner deduction for its inside-mount blinds and shades. Blinds.com gives the same general pattern for traditional blinds and shades, but lists different measurement rules for some vertical, sheer, shutter, skylight, and specialty products. That exception list is the reason the exact product page must sit beside the tape measure.
Our view: “the factory deducts” is safe only when the order page says so in writing. Some makers deduct from the headrail and fabric differently. Others ask for a finished size. Save a PDF or screenshot of the measuring instructions, product name, date, and order entry. A verbal promise is hard to use when a custom item arrives narrow.
Depth has two different pass marks
Minimum mounting depth means enough flat space for approved brackets. Fully recessed or flush depth is usually larger and means the treatment can sit within the face of the opening. A product can pass the first and still project into the room.
Measure where the headrail will actually sit, not at the deepest part of the sill. Use the shortest clear depth after accounting for a crank, lock, tile, weatherstrip, sensor, and inward-moving sash. Then check headrail height, valance projection, motor or battery access, and how far the blind stacks when raised. If the window is also part of an energy or draft problem, address the opening with the room-by-room energy guide instead of expecting one blind to correct every comfort issue.
Plan the light gap before checkout
Inside-mounted treatments need operating clearance. American Blinds says its inside-mounted products can have a light gap of roughly one-eighth to one-quarter inch on either side, while the finished gap for another product can differ. Roller-shade fabric may be narrower than the headrail because controls and brackets occupy space.
Ask for the finished headrail width, finished fabric or slat width, deduction, tolerance, and side-gap expectation for the exact configuration. If darkness is the goal, compare an outside mount, a layered treatment, or a product-specific side-channel system. Do not widen an inside-mount order beyond the measured opening to fight the gap; it may bind or fail to fit.
Measure an outside mount as a coverage area
Mark the intended headrail location first. Confirm the product's required flat mounting surface and the mounting instructions for drywall, wood trim, masonry, tile, or another substrate. Then measure the total area to cover, including the desired side, top, and bottom overlap.
Manufacturer overlap suggestions vary. Levolor's general guidance mentions at least three-quarters of an inch on each side for light control, while Blinds.com recommends more for many standard products. Use the exact maker's number, then account for trim projection, sill, adjacent walls, cabinet doors, outlets, and the raised blind's stack. The outside-mount order is often made to the submitted size, so do not assume a factory deduction.
The 4Homes weekly email
Every Tuesday: what changed for homeowners this week, plus our newest guides.
No spam. Unsubscribe anytime.
Make child cord safety part of the order
The U.S. Consumer Product Safety Commission says cordless window coverings are the safest option where young children are present and recommends cordless products in homes where children live or visit. Accessible operating cords and inner cords can become strangulation hazards quickly and silently.
Choose a genuinely cordless or inaccessible-cord design where children may be present. Move cribs, beds, furniture, and toys away from windows. If an exact custom product uses a continuous loop, follow its safety standard, tension-device, fastener, and installation requirements; do not omit the device for appearance or convenience. Check current CPSC recalls before reusing an older treatment.
Plan a realistic 2026 blinds budget
A Home Depot online snapshot reviewed October 11, 2026 showed ready-size cordless cellular shades from about $24 to $102 and custom examples starting near $88, with other custom blinds starting above $150. Size, fabric, blackout construction, motorization, valances, specialty shapes, installation, and promotions change the total. These are dated examples from one retailer, not nationwide quotes.
| Cost line | What to include |
|---|---|
| Treatment | Exact product, size, mount, material, opacity, lift, color, and warranty |
| Hardware | Brackets, valance, spacers, extension parts, safety devices, and approved fasteners |
| Measurement | Site visit, written fit guarantee, remeasure policy, and responsibility for errors |
| Installation | Removal, mounting, child-safety devices, access, patching, and cleanup |
| Ownership | Cleaning, batteries or charging, replacement parts, repair, and shipping |
If installation needs a contractor, use the contractor quote comparison so bids cover the same windows, products, hardware, safety devices, removal, and fit remedy.
How to save without paying for a remake
Order one representative window first when the seller permits it, especially before repeating an expensive custom product through a whole room. Keep openings with different measurements as separate line items. Compare total delivered and installed cost, not a percentage-off banner.
Stock cordless sizes can be economical when their published actual width, mounting requirements, and light gaps suit the opening. Custom makes sense when the fit or function is genuinely different. The cheapest measurement is the second one you take before clicking buy.
Blinds measurement checklist
- Each window has its own room-and-position label.
- Inside or outside mount was chosen before measuring.
- The exact product's depth, deduction, rounding, and mounting instructions are saved.
- Three widths, three heights, and the shortest usable depth are recorded where instructed.
- Locks, cranks, sensors, screens, sash travel, tile, sill, trim, and stack height are checked.
- Finished headrail and fabric widths are understood before a blackout claim is accepted.
- Cordless design and required safety devices are specified for homes children visit.
- The final order is written width × height and checked twice.
Frequently Asked Questions
How do I measure a window for inside-mount blinds?
First confirm the exact product's minimum mounting depth and check for handles, locks, sensors, screens, and tilt-in sash movement. For many standard blinds, measure inside width at the top, middle, and bottom and keep the narrowest; measure height at the left, center, and right and keep the longest. Submit the exact opening only when that manufacturer's instructions say the factory makes the deduction.
Should I deduct anything for inside-mount blinds?
Not unless the exact seller and product instructions tell you to. Levolor and Blinds.com direct buyers to submit exact opening measurements for many inside-mount products because the factory applies its own clearance deduction. Product lines differ, so save the instructions used for the order and never combine a generic deduction with a factory deduction.
How much window depth do inside-mount blinds need?
There is no universal depth. The same product may publish one minimum for the brackets to attach and a larger depth for a fully recessed or flush fit. Measure the shortest unobstructed depth at the intended bracket location and compare it with the exact headrail, bracket, valance, motor, and handle-clearance specifications.
Are inside-mount blinds good for blackout rooms?
They can darken a room, but operating clearance usually leaves side gaps, and roller-shade fabric may be narrower than its headrail. If strong light control is the priority, compare the manufacturer's finished-product deduction and light-gap information with an outside mount, overlapping treatment, or side-channel option before ordering.
Do I need cordless blinds if children visit my home?
CPSC says cordless window coverings are the safest option where young children are present and recommends them in homes where children live or visit. Keep cribs, beds, furniture, and toys away from windows. Accessible pull cords, inner cords, and continuous loops can create strangulation hazards, so product safety belongs in the buying decision, not as an afterthought.