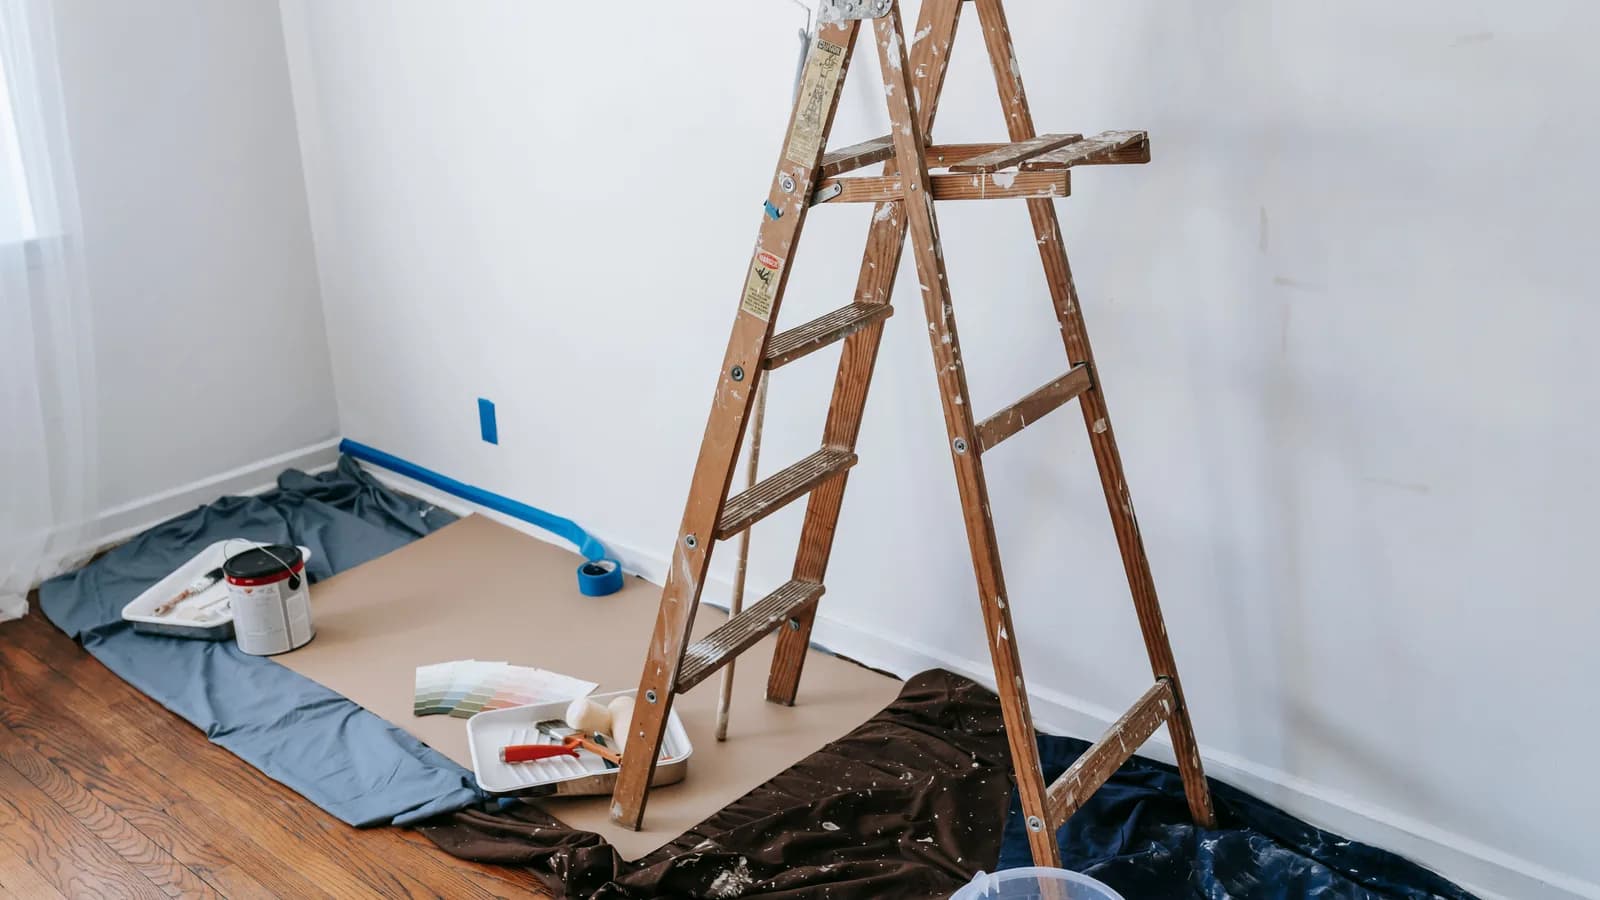
Build one room schedule, order the work by dependency, and approve a tested palette before buying paint for the whole house.
A room-by-room paint plan starts with the rooms that share sight lines, then orders the work from ceilings and trim to walls while leaving the busiest or most disruptive spaces for a practical window. Record each room's surfaces, repairs, color, sheen, gallons, and sequence before buying the whole job. Test one representative room first.
I would not choose twelve colors for twelve rooms. A smaller palette with deliberate transitions is easier to buy, touch up, and live with, while still letting bedrooms or closed rooms feel different.
Build one room schedule before choosing colors
Walk the house with a simple worksheet. Give every room a row, including halls, stairways, closets, ceilings, trim, doors, and built-ins that are actually in scope. Record approximate wall dimensions, ceiling height, current surface and sheen, visible damage, fixed finishes, natural light, connected sight lines, furniture-moving needs, and the room's busiest days.
Separate “must paint” from “might paint.” Peeling coating after a leak, patched drywall, smoke residue, failed caulk, and a damaged ceiling are scope questions. A room that merely feels dull may need cleaning, better lighting, or one wall touched up. Keeping those lists separate prevents a cosmetic wish from quietly becoming a whole-house contract.
| Room or zone | Decide first | Typical order |
|---|---|---|
| Open living, dining, and kitchen sight line | Shared wall color, transition points, ceiling, trim, kitchen moisture and cleaning needs | Ceilings, trim, then walls; complete connected walls together |
| Bedrooms | Furniture plan, occupant schedule, darkest and brightest walls | Least-used or empty bedroom first; primary bedroom after the palette is proven |
| Bathroom and laundry | Leaks, ventilation, peeling, mildew source, cure time | Repair and dry first; schedule when the room can stay out of heavy use |
| Hall and stairs | High access, traffic control, handrails, wall damage | After adjacent ceilings and rooms, before final touch-up |
| Closets and utility spaces | Stored contents, ventilation, labels and shutoffs that must remain readable | Empty and complete in small batches rather than blocking every storage area |
Choose the project order by dependency
Do repairs before finish coats. Paint ceilings before walls so splatter and edge work do not ruin completed surfaces. When trim and doors are included, the exact order can vary by painter and product, but it should be written before work begins. The useful rule is to finish the surface most likely to mark the next one, then protect it.
Connected rooms belong in the same decision batch even if they are painted on different days. Closed bedrooms can wait. A bathroom or laundry room with a resolved moisture problem needs enough downtime for preparation, drying, and cure. A stairwell with high access may belong with a professional rather than between two easy bedrooms.
Use the renovation priority plan if flooring, cabinets, windows, electrical work, or wall opening is coming soon. Painting before dusty demolition or before trim is replaced buys the same finish twice.
Make fixed finishes narrow the palette
List flooring, tile, counters, stone, wood, brick, large upholstery, and window treatments that will stay. Place samples beside the actual material. Phone photos and online color cards are useful for shortlisting, not approval; camera processing, screens, and store lighting all shift color.
Walk from the front door through the connected spaces and mark where one color can stop cleanly. Corners, cased openings, and closed doors are better transition points than the middle of a continuous wall. Repeat one trim color or restrained neutral family where it helps the rooms relate. A whole-home plan needs continuity, not one beige everywhere.
Large movable sample boards are worth the trouble. Put them on the darkest wall, the brightest wall, and beside the flooring. Check morning, afternoon, and electric light during the hours the room is used. A color that fights the fixed surfaces in two of those conditions does not become better because the sample name sounds right.
Match sheen to the surface and room
Sheen changes reflection, cleaning, and how clearly flaws show. Higher sheen may be easier to wipe in some product lines, but it can spotlight patches and uneven drywall. Lower sheen softens reflection but is not automatically right for moisture or repeated scrubbing. Use the paint manufacturer's instructions for the specific coating and substrate.
Ceilings, walls, trim, doors, cabinets, and masonry are separate scopes. Cabinet finishing is not ordinary wall painting. A bathroom with recurring peeling or mildew needs the moisture and ventilation cause fixed first. A water stain needs a dry, resolved source. Soft, bulging, damp, or widening damage is a repair question, not a primer choice.
For rooms where lighting is part of the problem, use the kitchen lighting plan or the small living-room layout guide before settling color. Paint cannot correct glare, poor task lighting, or furniture blocking the room's only good daylight.
Estimate gallons from paintable area, not floor area alone
Measure each wall's length and height, subtract large openings only when the estimate warrants it, and add ceilings, closets, doors, or trim separately. The product label controls coverage and coat assumptions. Angi says a gallon commonly covers roughly 300 to 400 square feet, but texture, porous repairs, color change, application method, and the coating itself can reduce practical coverage.
Keep a room-by-room purchase record: manufacturer, product line, color identifier, formula, sheen, gallons, batch details when available, primer, and actual leftover quantity. Do not order the entire house from an unproven sample. Complete one representative room through cure and normal use, then approve the larger purchase.
The 4Homes weekly email
Every Tuesday: what changed for homeowners this week, plus our newest guides.
No spam. Unsubscribe anytime.
Typical paint costs and budget ranges
Angi's 2026 national planning figures put professional room painting at about $400 to $1,600, commonly $2 to $6 per square foot depending on room size, height, preparation, trim, and local labor. Its paint range is about $20 to $70 per gallon, with specialty or premium products outside that band. HomeAdvisor's interior-painting guide lists roughly $15 to $40 per gallon for many paints and room examples from about $140 to $2,000 depending on size and room type.
These ranges are not quotes. A tall stairwell, damaged plaster, lead-safe work, extensive patching, dark-to-light change, doors and trim, occupied-room protection, and furniture moving can matter more than the wall area. Ask bids to separate preparation, primer, ceilings, walls, trim, doors, materials, cleanup, and excluded repairs. Use the contractor quote comparison so each painter prices the same rooms and surfaces.
Put preparation and air in the schedule
Budget time for moving or protecting furniture, cleaning, patching, suitable caulk, sanding, dust control, primer, edge work, drying, cure, cleanup, and safe storage or disposal. Protect occupants, pets, floors, fixtures, alarms, and air pathways without defeating required ventilation or safety equipment.
A pre-1978 home is a clear checkpoint. The U.S. Environmental Protection Agency says renovation, repair, or painting that disturbs lead-based paint can create dangerous lead dust, and contractors performing covered work must be lead-safe certified. Do not sand, scrape, drill, or demolish an uncertain coating to stay on schedule. Testing, containment, and qualified help may be the right next step.
The EPA identifies paints, paint strippers, and solvents as sources of volatile organic compounds and advises increased ventilation while using products that emit them. Read the product label before choosing the work period. Plan how outdoor air enters and leaves, and keep children, pets, and sensitive occupants away as directed. If wildfire smoke, extreme heat, or severe weather makes ventilation unsafe, postpone the room.
Save money without making the plan brittle
Use fewer colors across connected rooms, but do not force one sheen or product onto every surface. Buy after the sample room, not before. Keep ceilings that are sound and compatible out of scope when they do not need work. Move small furniture and wall hangings yourself only if the quote allows it and you can do so safely.
Prep is usually the wrong place to demand a shortcut. Save by narrowing the scope, grouping connected rooms, and scheduling empty rooms first. Keep a labeled touch-up amount for each finish instead of gallons of mystery paint. Store it by the label and local rules, never beside heat or where children can reach it.
When to call a professional
Hire qualified help for high stairwells, extensive plaster failure, recurring moisture, suspected lead or other hazardous material, large areas of peeling, significant smoke contamination, or work that needs containment. Call the appropriate repair trade before a painter when the wall is damp, soft, bulging, moving, or repeatedly staining.
A useful painting proposal names every room and surface, the preparation standard, primer, product line, color and sheen, number of coats or coverage standard, protection, repair limits, schedule, cleanup, and touch-up process. Finish with a room-by-room walk under normal lighting. Save the final color and product record in the house file. That record is what makes the next small repair match without restarting the whole color search.
Frequently Asked Questions
What order should I paint rooms in a house?
Start with an empty or low-use room that represents the home's common light, trim, and wall condition. Use it to confirm preparation, color, sheen, and product. Then complete connected sight-line rooms as one decision batch, schedule wet rooms around cure time, and leave high stairways or hazardous surfaces to qualified help.
Should I use the same paint color in every room?
No. A smaller related palette is easier to buy and touch up, but closed bedrooms and distinct rooms can use different colors. Repeat a trim color or restrained neutral family where it helps, and place transitions at corners, cased openings, or closed doors rather than in the middle of a continuous wall.
How much does it cost to paint one room?
Angi's 2026 national planning range is roughly $400 to $1,600 for professional room painting, while actual bids depend on size, ceiling height, preparation, trim, access, coating, and local labor. Compare the same written scope, including ceilings, walls, doors, repairs, protection, materials, and cleanup.
How do I estimate how much paint each room needs?
Measure the paintable wall area, list ceilings, closets, doors, and trim separately, then use the exact product's stated coverage and coat instructions. A gallon often covers roughly 300 to 400 square feet, but texture, porous repairs, major color changes, and application method can reduce practical coverage.
When should I hire a professional painter?
Hire qualified help for high stairwells, extensive plaster failure, recurring moisture, suspected lead or other hazardous material, widespread peeling, smoke contamination, or work needing containment. Call the repair trade first when a surface is damp, soft, bulging, moving, or repeatedly stained.