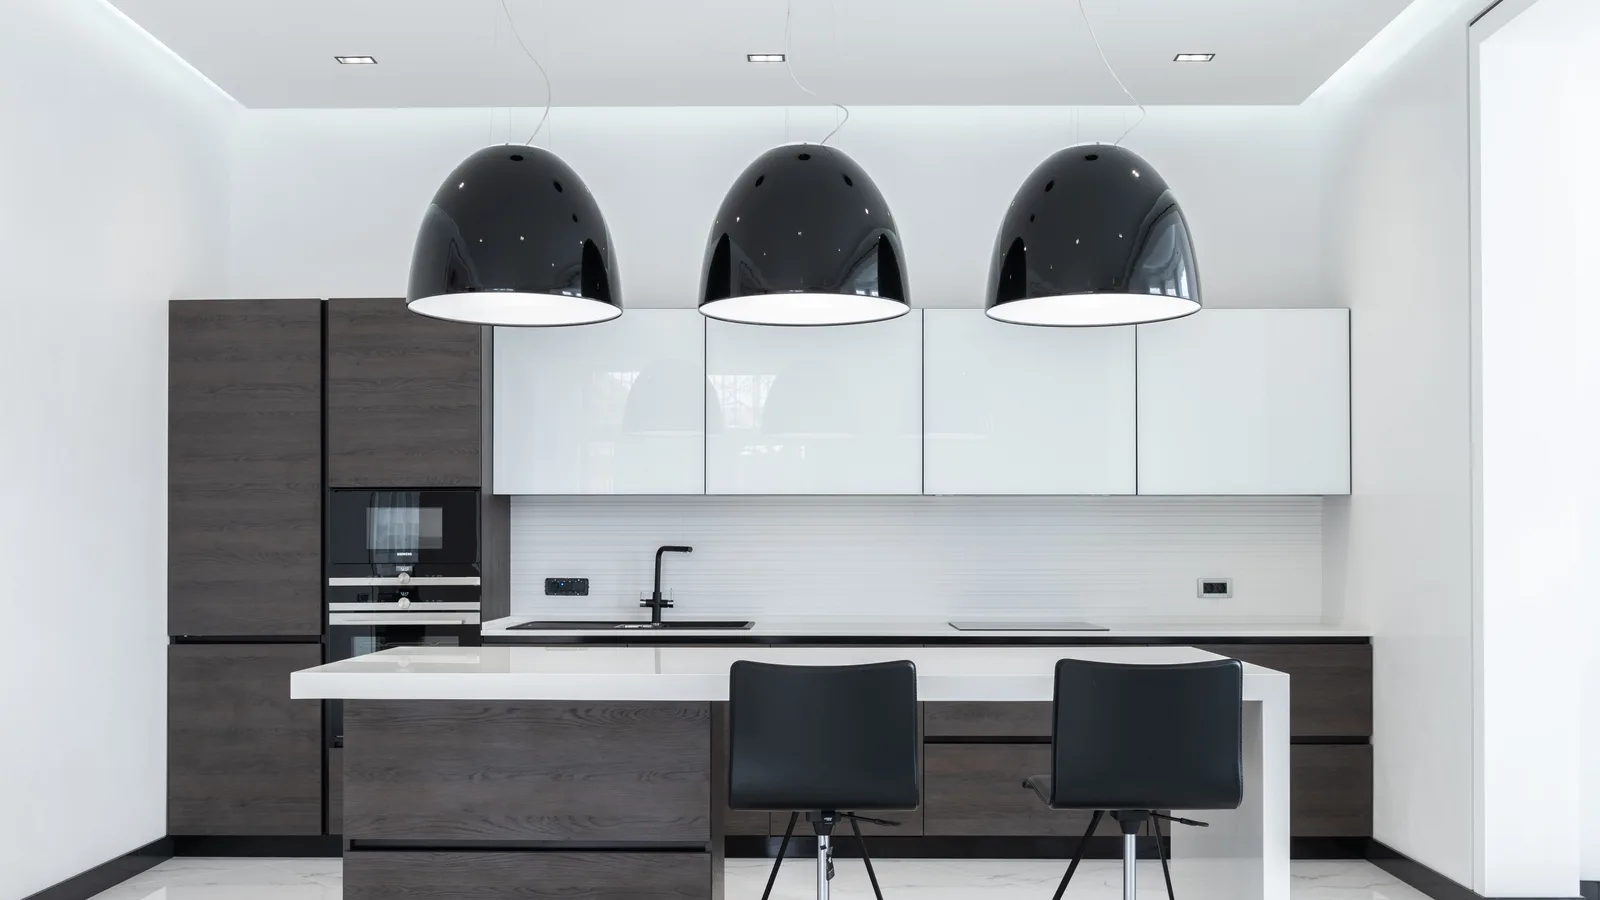
A kitchen needs light where hands work, where people gather, and where the room is crossed after dark. Map those jobs before choosing fixtures.
A useful kitchen lighting plan starts with the work, not the fixtures. Mark where a knife meets a cutting board, where labels are read, where dishes are washed, where people gather, and where someone walks through after the rest of the house is dark. Then give each job enough light without asking one ceiling fixture to do everything. In most kitchens, that means a quiet ambient layer, a focused task layer, and a smaller amount of accent or evening light.
This order matters because a bright room can still leave the countertop in shadow. Light behind a person often throws that person's shadow onto the very surface that needs to be seen. A beautiful pendant can also be a poor work light if glare reaches seated eyes or the shade traps most of the useful light.
Draw the task map before shopping
Make a simple kitchen sketch and mark the sink, range, prep area, pantry, appliance garage, table, island, and main walking route. Use the kitchen at breakfast time, after sunset, and with only the lights normally used in the evening. Note dark work surfaces, reflections on glossy counters, deep cabinet shadows, and places where a person blocks the light.
Start with the counters. Under-cabinet lighting is often effective because it puts light in front of the person working rather than behind them. The source should be shielded from normal sight lines, especially from nearby seating. A continuous run usually produces a calmer field of light than isolated bright dots, but cabinet construction, backsplash reflectivity, and available wiring will affect the choice.
Next consider the room's general light. Recessed fixtures, a surface fixture, indirect light, or a combination can provide the background layer. Their job is comfortable orientation and cleanup, not theatrical brightness. Pendants and decorative fixtures can help at an island or table, but their scale, hanging position, and beam pattern should be judged from both standing and seated positions. Keep sight lines and cabinet doors in the test.
Mock up the light, not only the look
Tape paper circles where ceiling fixtures are being considered and hang a lightweight placeholder at the proposed pendant height. This does not predict the exact beam, but it reveals crowding, blocked views, and awkward alignment. For plug-in or battery-powered trial lights, place them temporarily under cabinets and live with the position before committing to holes or wiring. Do not treat a temporary product as a permanent installation unless its listing and instructions allow that use.
Compare lamps and integrated fixtures on the qualities that will be noticed every day: brightness, distribution, color appearance, dimming behavior, flicker, replaceability, and controls. The U.S. Department of Energy's consumer guide to energy-efficient lighting explains lighting labels and the difference between lumens and watts. Lumens describe light output; watts describe energy use. Buying by watts alone can lead to a brighter or dimmer result than intended.
Color temperature should support the materials and the household's habits. Compare actual samples of the countertop, paint, wood, and tile under candidate light when possible. Two products carrying the same nominal color temperature can still render finishes differently. If several fixtures share a sight line, choose compatible color appearance rather than assembling them one box at a time.
The 4Homes weekly email
Every Tuesday: what changed for homeowners this week, plus our newest guides.
No spam. Unsubscribe anytime.
Separate the controls by purpose
The whole kitchen should not need to switch on at full output for a glass of water. Put ambient, task, and decorative layers on controls that reflect how the room is used. Dimming can make one layer work across cleanup, cooking, and a quiet evening, but the lamp, driver, and dimmer need to be compatible. A switch in a clever location is not useful if it is hidden behind an open door or difficult to reach with full hands.
Plan for maintenance as well. Ask how an integrated light is replaced, whether a matching component is likely to remain available, and how a driver or transformer can be reached. Grease, steam, and cleaning products make a kitchen different from a showroom ceiling. Fixtures near water, heat, or cooking equipment must be appropriate for the location and installed according to their instructions and local requirements.
Know where the homeowner plan ends
A homeowner can map tasks, test glare, compare color, and decide which layers should work together. New circuits, altered wiring, junction boxes, fixture supports, and work near energized parts belong with a qualified electrician. Turn off power according to the home's electrical safety plan before any permitted owner task, and do not rely on a wall switch as proof that conductors are de-energized. Warm switches, burning odor, repeated flicker, buzzing at wiring devices, or a breaker that trips need diagnosis rather than a decorative upgrade.
Finish with one final test: can the room support careful prep, ordinary conversation, cleanup, and a late-night walk without forcing every fixture on? If so, the layers are doing real work. If the kitchen project also changes cabinets, surfaces, or circulation, use the renovation priority planto settle the room's layout before placing permanent light around it.