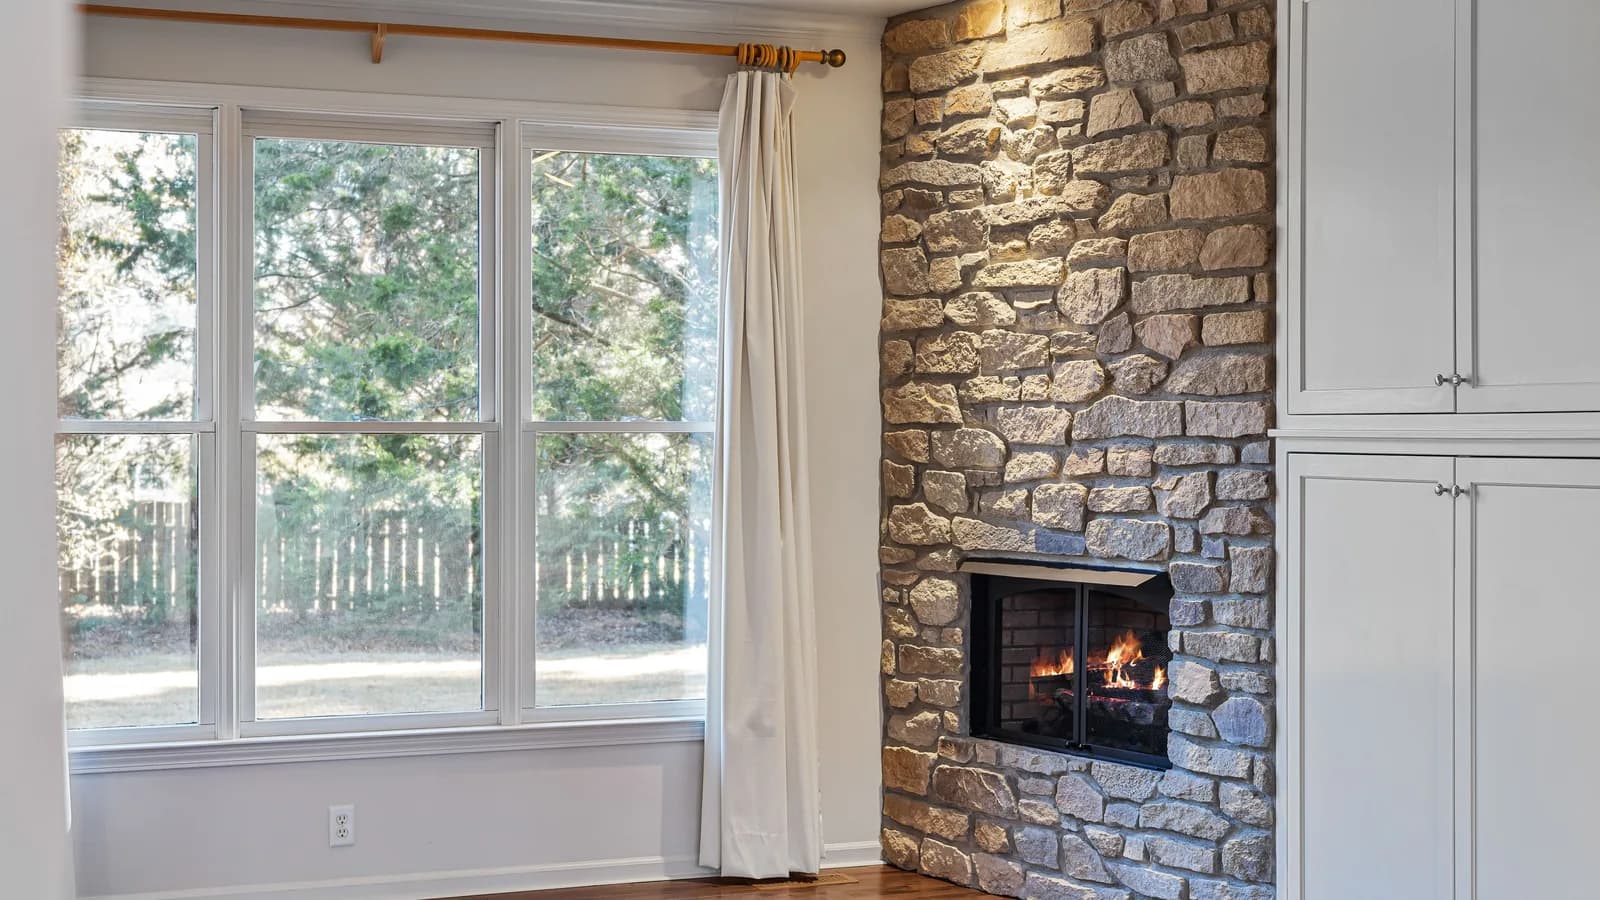
Set rod height from the finished panel, width from stackback, and every bracket from the wall structure and the load it must carry.
Place a curtain rod high enough to lengthen the window visually and wide enough that open panels clear most of the glass, but set the final position from the actual panel length, bracket shape, wall framing, and nearby obstructions. Start with a paper template or painter's-tape mockup, test one bracket and one panel, then repeat the verified measurements. A fashionable rule is less useful than a level rod that carries the fabric safely and lets the window operate.
Measure the curtain, not only the window
Record the outside edges of the window trim, the distance from trim to ceiling, and the clear wall on both sides. Then note handles, locks, deep sills, radiators, baseboard heaters, floor vents, outlets, switches, cabinets, doors, and neighboring windows. A rod can be centered over the window and still fail because a finial hits a wall or a panel covers a heat source.
The curtain header changes the measurement. Grommets place the fabric top below the rod. Rings and clips add a drop. A rod pocket wraps around the rod. Pleated drapery on rings or a traverse track has its own hardware geometry. Assemble one bracket, rod section, ring, and panel on the floor so you can measure from the bracket screw holes to the finished fabric edge.
Measure panel width too. Curtains need enough fabric to close without stretching flat, and open panels need somewhere to stack. Our view: sacrificing all the glass to narrow hardware is a worse mistake than hanging the rod an inch lower than a design rule suggests. Protect daylight and window operation first.
Pick a height by working backward from the hem
Decide where the curtain should end. Floor-length panels may barely clear the floor, touch it, or break slightly. Short panels may end at the sill or below the apron. In kitchens, baths, children's rooms, pet routes, and dusty or frequently cleaned spaces, practical clearance can matter more than a pooled look.
Set the panel on its rings, clips, or rod pocket and measure the full hanging drop. Subtract the desired floor or sill clearance. That gives you the rod's working elevation. Now check whether the brackets fit between the window trim and ceiling and whether their screw holes land in sound structure.
Hanging close to the ceiling can make a standard window feel taller, but crowding a bracket against crown molding looks accidental and may leave no room to lift the rod into place. Several inches above the trim is a common starting point in an ordinary room. It is not a code. Tape a bracket outline to the wall, step back from the doorway, and check the proportion before drilling.
Choose width from stackback and wall space
Rod width is measured across the usable rod, not from the tips of large finials. Start with the window's outside trim width. Add enough on both sides for the panels to stack mostly off the glass when open. The needed extension grows with thick fabric, lining, rings, pleats, and wide panels.
| Condition | Width decision | Check before drilling |
|---|---|---|
| Standard single window | Extend evenly beyond both trim edges so open panels preserve glass | Finial clearance, stud locations, and panel stack width |
| Window near a corner | Use the available wall and balance visually rather than forcing equal extension | Whether the finial or panel hits the side wall |
| Two close windows | Decide whether they read as one composition or two separate openings | Center bracket locations and how panels meet between windows |
| Wide span or patio door | Use hardware rated for the full span and fabric load | Center supports, door travel, handles, and daily stacking direction |
| Deep trim or projecting shade | Choose brackets with enough return to clear the existing covering | Layer depth, crank or lock access, and safe cord control |
If the window already has blinds or shades, operate them through a full cycle while holding the proposed curtain in place. The rod return must clear the headrail, valance, handle, and any projecting trim. In homes where children live or visit, the U.S. Consumer Product Safety Commission says cordless window coverings are the safest choice. Curtains should not create access to an existing hazardous cord.
Match the rod and brackets to the load
Weigh the complete fabric or use the curtain manufacturer's listed weight. Add rings, clips, wands, and any overlap hardware. Choose a rod whose instructions cover the span and load. Telescoping rods get weaker as they extend, and a long span commonly needs a center bracket. Follow the product's bracket count and maximum spacing rather than improvising around appearance.
Studs provide strong attachment when they align with the bracket location, but windows often have framing close to the rough opening rather than exactly where a wide rod needs its outer brackets. Use a stud finder, then verify cautiously. If you cannot attach to wood framing, select an anchor rated for the wall type and expected load. Drywall, plaster over lath, masonry, tile, and hollow block need different drilling and fastening methods.
Do not drill blindly above or beside an opening. Wiring, plumbing, metal corner bead, masonry lintels, and hidden headers can all change the plan. Stop if the bit meets unexpected resistance, a fastener will not tighten, or the wall crumbles. A larger random anchor is not a diagnosis.
Install one side, level the rod, then mirror the layout
- Build a template. Trace the bracket and its screw holes on stiff paper or cardboard. Mark the top, window side, and distance to the rod center.
- Mark the first bracket. Use the verified height and side extension. Check against the ceiling and window, which may not be perfectly level.
- Find structure. Confirm framing or install the correct anchor according to its instructions. Drill only the specified pilot size and depth.
- Attach lightly at first. Mount the bracket snugly enough to hold, but leave final tightening until the rod position has been checked.
- Set the opposite bracket. Use a long level or laser and the template. Measure from the verified reference, not from a sloped ceiling alone.
- Add required center supports. Center them on the usable span unless the manufacturer specifies another position.
- Load and test. Install the rod and one panel, operate the curtain and window, confirm floor clearance, then hang the rest and tighten all hardware.
For a very wide window, a short level sitting on a flexible rod can lie to you. Mark bracket elevations on the wall with a laser or a rigid long level before loading the rod. If the window itself is visibly out of level, prioritize a level rod while keeping the offsets close enough that the arrangement does not call attention to the mismatch.
The 4Homes weekly email
Every Tuesday: what changed for homeowners this week, plus our newest guides.
No spam. Unsubscribe anytime.
Protect heat sources, exits, and window access
Keep fabric away from heaters, radiators, fireplaces, candles, and hot lamps according to the equipment and textile instructions. Do not cover a supply or return register in a way that traps fabric or blocks airflow. If the window is needed for emergency escape, the curtain and furniture arrangement must not make it difficult to reach, unlock, open, or climb through.
Secure continuous-loop shade or drapery cords with the required tension device and keep all cords inaccessible to children. CPSC recommends cordless coverings where young children live or visit. Move cribs, beds, toys, and climbable furniture away from window-covering cords. Replacing a corded product may be the right scope instead of adding curtains in front of it.
Heavy panels also need a reliable opening method. A baton or wand can reduce pulling on the leading ring and bracket. If household members tug directly on the fabric every day, even good anchors can loosen over time.
What curtain-rod installation costs
Ask installers for an itemized quote rather than relying on one national price. The total depends on the rod and brackets, wall material, access height, span, fabric weight, repair work, electrical work, and any minimum service charge. Plaster repair, masonry or tile drilling, high ceilings, extra-wide spans, heavy custom drapery, and motorized tracks can all change the scope.
| Budget line | What changes it | Money-saving choice |
|---|---|---|
| Rod and brackets | Span, load rating, finish, finials, center supports, and returns | Choose the simplest rated hardware that fits the measured opening |
| Panels and rings | Fabric, lining, fullness, header, length, hemming, and number of panels | Verify the rod height before ordering custom lengths |
| Installation | Wall material, access height, number of windows, repair, and trip minimum | Bundle measured standard windows into one visit |
| Specialty work | Bay windows, ceiling tracks, motorization, wiring, and blocking | Resolve power and structural needs before ordering hardware |
DIY cost can be limited to the rod, panels, compatible fasteners, and tools you do not already own. Cheap hardware becomes expensive when it bends, tears out, or forces new holes. Keep receipts and do one complete test window before opening every package.
When to call a professional
Call a qualified installer or handyman for very high windows, stairs below the work area, heavy drapery, long spans, plaster in poor condition, masonry, tile, uncertain framing, or repeated anchor failure. Use a licensed electrician for hardwired motorized tracks or any new receptacle or circuit. If drilling may disturb older painted surfaces, follow U.S. Environmental Protection Agency lead-safe renovation guidance and local rules.
Ask the installer to list the rod, bracket count, mounting surface, fastener method, load assumptions, center supports, patching, cleanup, and who supplies the panels. Use the contractor quote comparison for any multi-window or custom project.
Save money by making one full-size test
Buy or unpack one rod and one pair of panels first. Mock up the bracket, verify the panel drop, check stackback, and operate the window. That catches the expensive errors: panels that are too short, a rod that cannot clear an existing shade, finials that hit a wall, or brackets that miss sound structure.
Bundle windows that use the same hardware, but do not assume they share dimensions. Record each opening separately and label the rods and panels by room. Reuse sound panels after washing or hemming when the fabric still suits the space. The one-room refresh guide can keep window treatments from consuming the whole budget, while the small-bedroom guide helps place curtains without tightening the walking path.
After a week of use, tighten hardware only as the manufacturer allows and inspect for movement, wall cracking, rod sag, or rings catching at a telescoping joint. Fix a loose bracket early. The curtain should open without anyone yanking the wall.
Frequently Asked Questions
How high should a curtain rod be above a window?
Several inches above the trim is a common starting point, but ceiling height, panel length, header style, and mounting structure set the final position. Mock up one bracket and panel before drilling every hole, and keep the finished hem clear of heaters and traffic.
How far should a curtain rod extend past the window?
Extend it far enough for open panels to stack mostly beyond the glass without hitting a wall, cabinet, or nearby window. Panel fullness, finials, brackets, available wall space, and stud locations determine the final width.
Do curtain-rod brackets need to go into studs?
Stud attachment is preferred, especially for wide rods or heavy panels. If a bracket cannot meet a stud, use a fastener rated for the wall material and expected load. Do not reuse loose holes or assume the included anchors fit every wall.
How do I keep a long curtain rod from sagging?
Use a rod rated for the span and fabric weight, install every required support, anchor the brackets correctly, and orient telescoping joints as directed. A stronger rod cannot compensate for a loose bracket or an unsupported span.
Should curtains touch the floor?
Floor-length panels can barely clear, touch, or break slightly at the floor. Choose based on cleaning, pets, children, doors, and floor vents, then measure from the planned rod and ring position before buying or hemming panels.