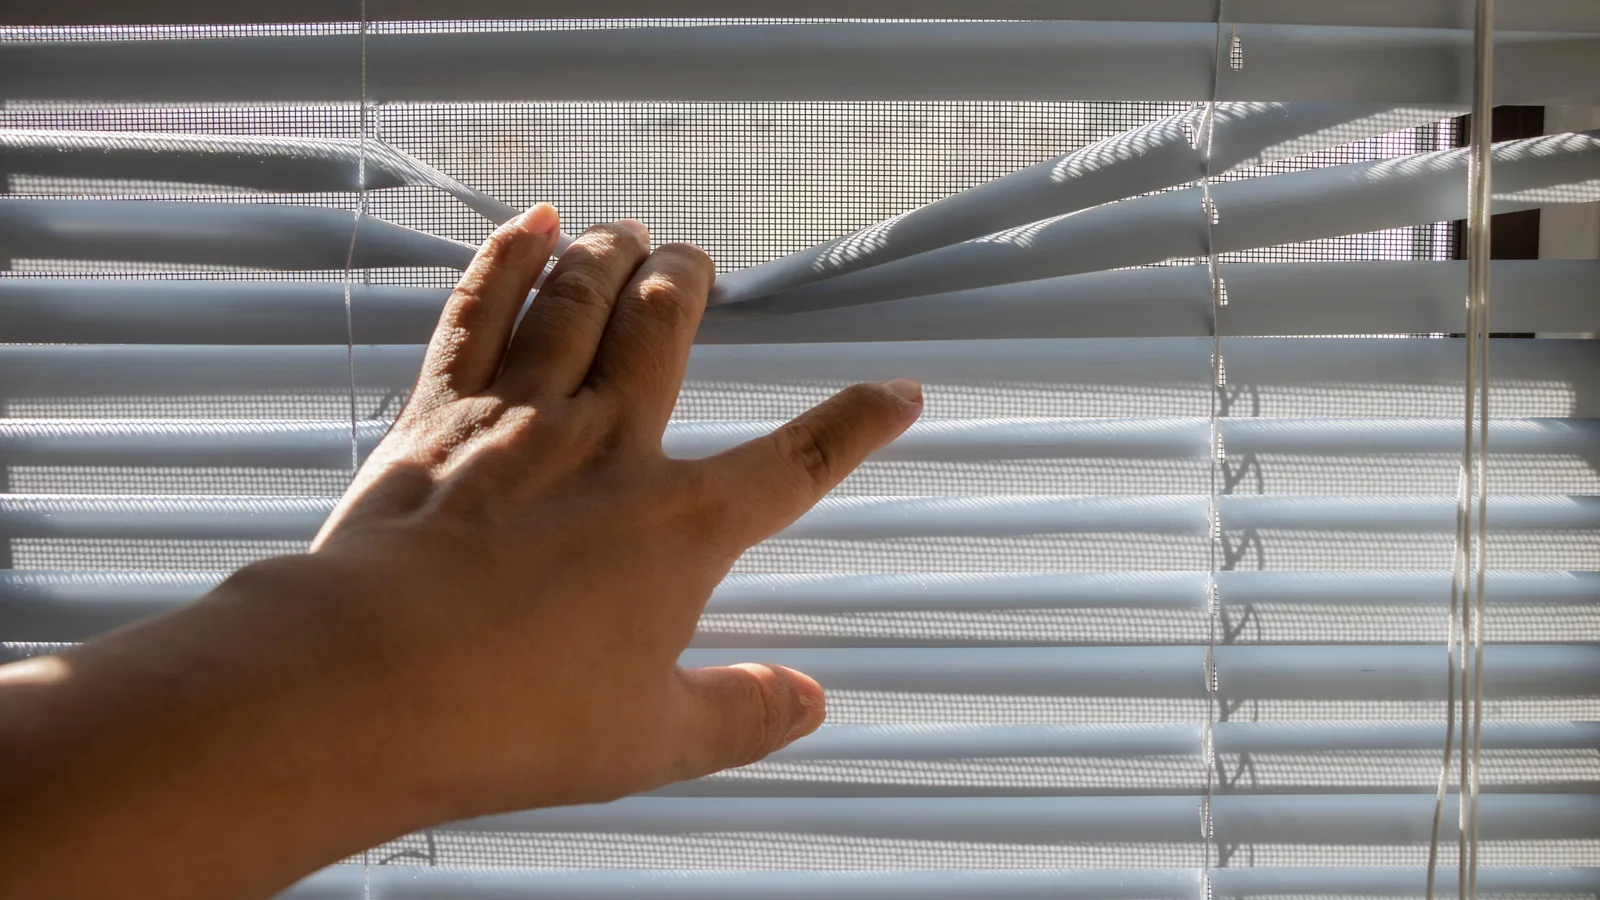
Identify the blind material, remove loose dust while the slats are supported, and use only the moisture and cleaner the manufacturer allows.
Clean blinds by identifying the material first, removing loose dust while the blind is supported, and using only the moisture and cleaner the manufacturer allows. Do not soak an unknown blind. Real wood, faux wood, aluminum, vinyl, fabric, cellular material, and motorized products can look similar while requiring very different care.
The safe default is simple: lower the blind, tilt slats nearly closed, dust from the top down, reverse the tilt, and repeat. Then decide whether any spot actually needs damp cleaning. My view: the popular bathtub shortcut creates more risk than it saves because water reaches ladders, cords, finishes, headrails, and mechanisms that were never meant to soak.
Identify the blind before choosing a cleaner
Find the maker, model, care label, order record, or installation paperwork. Photograph the headrail, controls, brackets, slats or vanes, bottom rail, and any motor or battery pack. Do not call every horizontal product a vinyl mini blind. A painted real-wood slat and a composite faux-wood slat may need different moisture limits even when their color matches.
| Product | Safe starting method | Common damage risk |
|---|---|---|
| Real wood blind | Soft dry cloth or dusting mitt; product-approved wood care only | Swelling, warping, finish change, or water marks |
| Faux wood blind | Dry dust first; lightly damp care only when approved | Finish damage, delamination, or heavy slats falling from support |
| Aluminum or metal blind | Soft cloth, mitt, or vacuum brush; mild damp cleaning if listed | Bent slats, scratched coating, or detergent residue |
| Vinyl blind | Dry dust, then maker-approved mild cleaning | Cracking, discoloration, or damaged ladders and cords |
| Fabric vertical, Roman, or cellular shade | Low-suction vacuum or spot method named by the maker | Water rings, shrinkage, crushed cells, dye movement, or glue failure |
| Motorized treatment | Power-safe dry care around accessible surfaces | Liquid in the motor, controls, battery, or charging connection |
Care limits vary by material, finish, operating system, and model. The exact product's current instructions control the cleaner, moisture, tools, removal method, and professional-care options. If those instructions cannot be found, stay with gentle dry dust removal and ask the manufacturer or a window-treatment professional before using liquid or taking the blind down.
Do a dry clean before adding moisture
- Clear the sill and floor. Move fragile objects and place a clean sheet or towel below to catch dust.
- Check operation gently. Stop if the blind binds, the headrail moves, a slat is cracked, or a control is damaged.
- Lower without forcing. Keep large blinds supported and follow the normal operating method.
- Tilt, do not clamp. Angle horizontal slats down but not tightly shut so their leading edges remain supported.
- Work top to bottom. Use a soft cloth or permitted vacuum brush at low suction, supporting each section instead of pulling it.
- Reverse and repeat. Change the tilt to expose the opposite face and clean the headrail and sill with their own approved methods.
- Inspect in daylight. Separate remaining grime from faded finish, corrosion, worn paint, or permanent staining.
A feather duster may move dust into the room without capturing it. A microfiber cloth or vacuum brush can control the debris better, but the vacuum should not pull fabric into the nozzle or buckle thin metal. Do not grip several narrow slats and slide hard across them; that can kink metal and strain the ladder cords.
Clean the glass separately, and apply any glass cleaner in a way that prevents overspray onto the window treatment. Keep liquid out of the headrail, motor, battery compartment, and control hardware. The exact product's current instructions control if they set a different method.
Use moisture only after a spot test
If the product instructions allow damp cleaning, mix only the stated mild solution. Wring the cloth until it is barely damp, test a hidden edge, and let the test dry before continuing. Work in short sections. Follow with a second cloth when rinsing is required, then dry the surface and leave the blind positioned for airflow.
Greasy kitchen buildup may need more than dusting, but stronger is not automatically better. Repeated mild passes are safer than an abrasive pad, concentrated degreaser, steam, or a homemade acid mixture on an unknown finish. If a film does not move with the approved method, stop before converting grime into finish damage.
Do not mix cleaners. Keep bleach, ammonia, solvents, and acids under their label directions and away from each other. The cleaning-supply storage guide explains original containers, label review, and incompatible-product boundaries.
Skip these viral cleaning shortcuts
- Bathtub soaking. Immersion can reach cord, glue, wood, fabric, steel hardware, and headrail mechanisms even when the slats tolerate water.
- Outdoor hosing. Spray pressure can bend slats, strip finishes, saturate controls, and contaminate the blind with soil or hard-water deposits.
- Steam cleaning by assumption. Heat and moisture can change adhesives, fabric, coatings, and shape.
- Dryer sheets and oily polish. Residue may alter the finish or collect more soil unless the maker names that product.
- Removing an unknown blind alone. A large unit can be heavier than it looks, and an unfamiliar bracket may release suddenly.
Some blinds can be cleaned while hanging, while others may be removed only under their exact current instructions. Do not treat one product's removal method as permission to take down every window covering. If removal is approved, photograph bracket positions, use a capable helper for wide units, protect the floor, and place the blind on a clean supported surface. Do not rest a long headrail across two narrow points where it can bend.
Check cords, mounts, and operation while you clean
Cleaning puts your hands near controls, so pause for a safety inspection. Look for an accessible loop, frayed cord, broken wand, loose bracket, falling valance, cracked slat, exposed sharp edge, or blind that no longer stays in position. Do not tie, tape, or shorten a control in a way the manufacturer does not approve.
The U.S. Consumer Product Safety Commission and Window Covering Safety Council urge cordless coverings or products with inaccessible cords in homes where young children live or visit. Move cribs, beds, furniture, and toys away from cords. A cord cleat or tension device must be the correct approved part and installed as directed; cleaning is not a reason to remove or defeat it.
Use a window-treatment professional or the manufacturer for control, motor, bracket, or cord repair. For high windows, stair landings, or access requiring an improvised reach, hire help rather than standing on furniture. The homeowner ladder guide explains why tool choice does not make every elevated task appropriate.
The 4Homes weekly email
Every Tuesday: what changed for homeowners this week, plus our newest guides.
No spam. Unsubscribe anytime.
Know when the stain is not a cleaning problem
Black or brown specks near a wet window can be dirt, insect debris, corrosion, soot, or biological growth. Do not diagnose by color. First address condensation, leaks, or repeated indoor humidity with the window-condensation guide. The EPA advises correcting moisture and drying wet materials quickly rather than repeatedly cleaning over the source.
A yellowed vinyl slat, faded fabric edge, chalking paint, corroded headrail, or bleached patch may not return to its original appearance. Aggressive scrubbing can make the contrast worse. Document the condition, ask the manufacturer whether repair parts or professional cleaning exist, and compare that scope with replacement.
Plan the cost before replacing a whole room
DIY upkeep may cost nothing when you already have a soft cloth and approved vacuum brush. Angi's 2026 guide estimates $20 to $60 for basic DIY supplies, professional labor around $30 to $60 per hour, and many material-specific services around $10 to $50 per blind. It also lists removal and reinstallation at $20 to $50 per set and minimum service charges of $75 to $100. Local size, access, material, contamination, and repair needs can move any quote.
Ask a cleaner to identify the product, method, location, removal responsibility, stain boundary, drying process, cord or motor exclusions, reinstallation, and damage policy in writing. Ultrasonic, steam, hand, and dry-cleaning methods are not interchangeable. The blind maker's restrictions should appear in the scope.
Save money by doing regular dry dust removal before grease binds to it, grouping several compatible blinds into one professional visit, and solving the moisture or cooking source. Do not pay to clean a unit with unsafe cords, a failing mount, or material damage before pricing repair or replacement. If replacement is needed, measure with the blind measurement guide rather than ordering from the old label alone.
Sources used
U.S. Consumer Product Safety Commission window-covering cord guidance; U.S. Environmental Protection Agency moisture guidance; Angi 2026 blind-cleaning cost data; and the exact product's current care, removal, and repair instructions.
Blind cleaning FAQs
What is the easiest way to clean blinds without taking them down?
Identify the material, lower the blind, tilt slats almost closed, and remove loose dust with a soft cloth, dusting mitt, or vacuum brush at low suction if the manufacturer permits it. Support slats as you work, clean both sides, and use moisture or detergent only when the exact product instructions allow it.
Can I wash blinds in the bathtub?
Only when the manufacturer explicitly allows immersion for that model and material. Wood, fabric, motorized parts, glued components, and many finishes can warp, swell, stain, delaminate, or fail. Cleaning a hanging blind with the approved dry or lightly damp method is safer than assuming vinyl-looking slats can soak.
Can I use vinegar to clean blinds?
Do not use a household recipe until the blind maker approves it. Acids, solvents, abrasives, oils, and strong cleaners can alter finishes, adhesives, fabric color, and metal. Start with dry dust removal; if wet cleaning is allowed, use the specified mild solution and test an inconspicuous area first.
How often should blinds be cleaned?
Use condition rather than a universal calendar. Dust lightly before buildup becomes greasy, and clean more often near cooking, smoke, open windows, pets, or renovation dust. The product manual may set its own care interval. Stop and address a moisture, soot, or pest source instead of repeatedly cleaning the symptom.
When should you replace blinds and shades?
Use a window-treatment professional for delicate fabric, specialty finishes, motorized products, high or unsafe access, heavy contamination, or a blind that must be removed without known hardware. Replace or professionally repair unsafe accessible cords, broken mounts, failed lift or tilt parts, cracked slats, or damage the manufacturer says cannot be serviced.
Frequently Asked Questions
What is the easiest way to clean blinds without taking them down?
Identify the material, lower the blind, tilt slats almost closed, and remove loose dust with a soft cloth, dusting mitt, or vacuum brush at low suction if the manufacturer permits it. Support slats as you work, clean both sides, and use moisture or detergent only when the exact product instructions allow it.
Can I wash blinds in the bathtub?
Only when the manufacturer explicitly allows immersion for that model and material. Wood, fabric, motorized parts, glued components, and many finishes can warp, swell, stain, delaminate, or fail. Cleaning a hanging blind with the approved dry or lightly damp method is safer than assuming vinyl-looking slats can soak.
Can I use vinegar to clean blinds?
Do not use a household recipe until the blind maker approves it. Acids, solvents, abrasives, oils, and strong cleaners can alter finishes, adhesives, fabric color, and metal. Start with dry dust removal; if wet cleaning is allowed, use the specified mild solution and test an inconspicuous area first.
How often should blinds be cleaned?
Use condition rather than a universal calendar. Dust lightly before buildup becomes greasy, and clean more often near cooking, smoke, open windows, pets, or renovation dust. The product manual may set its own care interval. Stop and address a moisture, soot, or pest source instead of repeatedly cleaning the symptom.
When should you replace blinds and shades?
Use a window-treatment professional for delicate fabric, specialty finishes, motorized products, high or unsafe access, heavy contamination, or a blind that must be removed without known hardware. Replace or professionally repair unsafe accessible cords, broken mounts, failed lift or tilt parts, cracked slats, or damage the manufacturer says cannot be serviced.