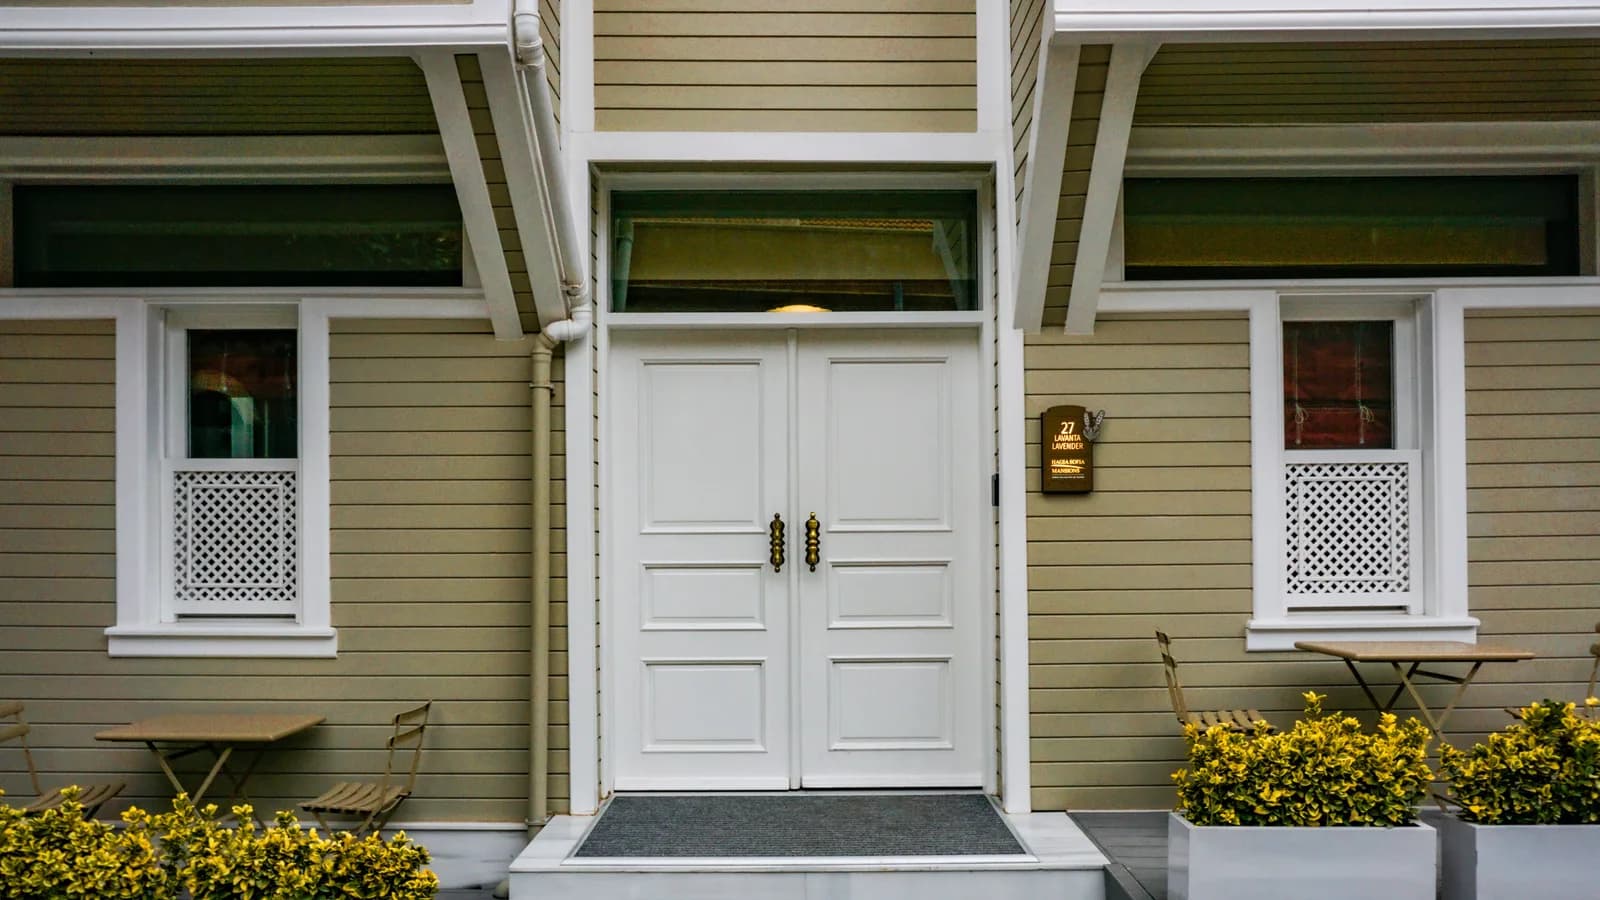
Locate the leaking layer with light, paper, and a visual check, then choose weatherstripping, a sweep, alignment work, or a real repair.
To fix a drafty exterior door, locate the exact gap before buying a seal. Check the top and sides with daylight and a paper test, inspect the sweep and threshold at both bottom corners, then decide whether the failed layer is weatherstripping, the door bottom, a stationary frame joint, or the door's alignment. Stop if you find water damage, soft wood, a moving frame, a warped slab, or a door that will not latch and lock normally.
Diagnose the gap with light, paper, and your eyes
Work with the door closed and latched, because an unlatched door does not show how the seals work in ordinary use. Turn off nearby exhaust fans for this first visual check. Look from inside in daylight at the head, latch side, hinge side, bottom edge, and two lower corners. Mark each clue with removable painter's tape: a line of light, crushed bulb, torn sweep, dirt track, loose threshold cap, stain, or seal that never touches the slab.
Next, close a plain sheet of paper between the door and side or top seal. Pull gently, then repeat every foot or so. The paper should not prove an airtight rating; it simply compares compression around one opening. A section that slips out while neighboring sections grip points to uneven contact. Never move a candle, match, incense stick, or smoking object around a draft. Fire and combustion gases are not diagnostic tools.
Open the door halfway and watch the hinge edge while you lift lightly at the handle. Movement at a hinge, a widening top corner gap, shiny rub marks, or a latch that meets the strike only after lifting the slab points toward alignment. Press very lightly on the jamb and trim. A changing gap suggests movement that weatherstripping should not be asked to hide.
| What you observe | Likely layer | Next move |
|---|---|---|
| Paper pulls free at one top or side section | Compression weatherstripping or alignment | Compare the old profile and inspect the slab-to-frame gap |
| Light shows under most of the door | Sweep, door bottom, or threshold | Clean the sill and check level contact across the full width |
| Triangular gap at one bottom corner | Corner transition, sag, or out-of-square opening | Check hinges and alignment before adding foam |
| Draft seems to come from behind trim | Stationary frame-to-wall joint | Keep movable-joint weatherstrip out of this repair |
| Stain, softness, swelling, or crumbling wood | Water or decay | Stop and diagnose the water path and damaged material |
Choose the repair by layer
The U.S. Department of Energy distinguishes moving joints from stationary cracks: weatherstripping belongs where the door moves against the frame, while compatible sealant belongs at a stable, dry joint that does not move. The Building America Solution Center separately calls for a tight-fitting sweep at the bottom and appropriate weatherstripping at the frame and threshold. Those layers can fail independently.
Our view: adding thickness before checking alignment is the fastest way to trade a draft for a door that will not secure. The closed door should compress the seal continuously and still latch and deadbolt with normal hand pressure. Do not accept slamming, shoulder pressure, or a deadbolt that must drag into place.
- Top and side gap: replace the failed compression seal with the profile and mounting method the door or seal manufacturer specifies.
- Bottom gap: use the compatible sweep, shoe, insert, or adjustable threshold procedure for that assembly.
- Stationary trim gap: repair only when the joint is dry, stable, clean, and suitable for the selected exterior-rated sealant.
- Loose ordinary hinge screw: tighten only with the correct hand tool when the jamb connection is sound. A spinning screw, split wood, or shifting jamb needs repair.
- Water, rot, or structure: correct the source and damaged construction before sealing the surface.
Replace weatherstripping without forcing the door
Photograph the old material at the corners and where it enters a kerf or attaches to a stop. Remove one short piece if that can be done without damaging the frame. Record the bulb shape, barb, backing width, and orientation. A generic foam tape may fit the shelf description but still be wrong for a kerf-in exterior-door seal.
- Pick a dry, mild work period and keep children and pets away from the open doorway.
- Remove only the failed seal. Leave one intact section as an orientation reference.
- Clean and dry the mounting surface with a method safe for the finish. Adhesive will not hold to dirt, damp wood, or loose paint.
- Fit the new material without stretching it. Follow the product's temperature, corner, cutting, and fastening instructions.
- Close and latch the door after each section. Stop if the new seal rolls, binds, flattens completely, or pushes the slab out of alignment.
- Repeat the paper comparison and test the latch and deadbolt before calling the perimeter complete.
If this is the only failed layer, the narrower exterior-door weatherstripping installation guide covers profile matching and corner fitting in more detail.
Set the sweep or threshold for contact, not drag
Vacuum or brush loose grit from the threshold first. Inspect its screws, cap, gasket, drainage path, and the finished floor the sweep crosses. A surface sweep mounts on a door face; a shoe wraps the bottom; some doors use a replaceable insert. They are not interchangeable without checking door thickness, swing direction, clearances, and the manufacturer's parts information.
Follow the product directions to position the flexible edge so it touches the threshold across the width. It should not scrape so hard that the door slows, the sweep folds under, or screws begin to loosen. Make small, even changes to an adjustable threshold. Raising one point aggressively can bow the cap, create a trip edge, block drainage, or keep the latch from seating.
Inspect the bottom corners after the door is latched. Some systems use a manufacturer-approved corner pad where the vertical seal meets the sill. Do not pack the corner with random foam or caulk. That patch can hold water and mask a sagging door.
Do not seal over water, rot, or movement
A dark stain, peeling finish, swollen threshold, soft jamb, fungal growth, insect damage, or damp flooring changes the job. Trace roof runoff, flashing, porch exposure, sill drainage, and wind-driven rain before closing a gap. The gutter and drainage guide helps document exterior water routes, while the home water-leak plan covers active interior moisture.
Do not plane a warped slab, bury a loose frame in sealant, or keep enlarging strike openings to make a moved door latch. Exterior doors are part of security, weather control, and emergency egress. A door between an attached garage and living space may also be a labeled fire-rated assembly. Keep its label readable and use compatible parts and methods.
If scraping, drilling, cutting, or removing painted trim could disturb paint in a pre-1978 home, U.S. Environmental Protection Agency guidance says the work can create dangerous lead dust. EPA recommends a lead-safe certified contractor for renovation, repair, and painting projects in pre-1978 homes and requires certified firms for covered contractor work. Do not dry-sand old paint as part of a casual draft fix.
The 4Homes weekly email
Every Tuesday: what changed for homeowners this week, plus our newest guides.
No spam. Unsubscribe anytime.
Plan the cost from the diagnosis
HomeGuide's national planning data lists professional weatherstripping at about $35 to $90 per hinged door. Its DIY material examples run from about $0.16 to $25 per linear foot across very different products, with door sweeps listed around $13 to $20. These are national planning figures, not a local quote and not a reason to buy the cheapest profile.
| Budget line | What should be included | What can change it |
|---|---|---|
| Seal-only repair | Exact perimeter profile, sweep or insert, fasteners, surface preparation, and operation test | Door size, proprietary parts, finish, and service minimum |
| Alignment | Hinge and fastener diagnosis, slab gaps, latch and deadbolt operation | Split jamb, stripped connections, warped slab, or moving frame |
| Water repair | Source, sill or flashing scope, damaged wood, trim, finish, and closeout after rain | Hidden decay and wall or floor damage |
| Lead-safe work | Containment, dust control, cleanup, and required certified-firm practices | Home age, painted area disturbed, and local rules |
Verify the fix before the next purchase
Close the door from several positions, latch and lock it normally, repeat the light and paper checks, and inspect for rolled or scuffed material after ten cycles. Then check the sill and nearby finish after the next wind-driven rain. One dry calm-day result does not prove the water layer works.
Save the product label, profile photo, receipt, and installation date in the seasonal home-care calendar. ENERGY STAR says whole-home air sealing and insulation can save up to 10% on annual energy bills, but that program estimate covers a package of measures. Do not promise yourself a 10% bill cut from one door. The defensible savings are smaller: buy the correct part once, prevent conditioned-air leakage, and catch moisture before it becomes a frame repair.
When to call a professional
Use a qualified door installer or carpenter when the slab is warped, hinges will not hold, the frame is out of square or moving, the sill is damaged, wood is soft, glass is loose, or the door will not secure and release normally. A building-envelope professional can investigate air or water bypassing the frame. Use a lead-safe certified firm when covered work disturbs paint in a pre-1978 home.
Ask for an itemized scope that separates seal replacement, alignment, sill or flashing work, decay repair, trim, paint, lead-safe controls, and operation testing. Compare it with the contractor quote checklist. Weatherstripping should not be the line item that hides the expensive part.
Frequently Asked Questions
How do I find where an exterior door is leaking air?
Close and latch the door, inspect the top, both sides, bottom corners, and trim in daylight, then compare seal pressure with a sheet of paper at several points. Daylight, dirt tracks, a loose paper test, or a visible gap helps locate the leak. Do not use a candle, incense, or another flame near the door.
Why is my exterior door still drafty after new weatherstripping?
The leak may be under the door, behind the trim, or caused by a sagging slab, loose hinge, warped door, out-of-square frame, or damaged threshold. New weatherstripping also fails when its profile is wrong or it does not compress evenly. Diagnose the gap before adding a second or thicker strip.
Should I use weatherstripping, a door sweep, or caulk?
Use weatherstripping where the door moves against the top and side stops, a compatible sweep or door bottom where the slab meets the threshold, and exterior-rated sealant only at a sound stationary joint where the frame or trim meets another material. Do not caulk a door shut or cover wet, rotten, or moving material.
When does a drafty door need repair instead of a new seal?
Call for repair when the door sags, binds, will not latch or lock normally, has a warped slab, loose frame, soft or rotted wood, water staining, a damaged sill, loose glass, or a gap that changes as the frame moves. A rated door between a garage and living space also needs manufacturer-compatible parts and qualified help when its label or assembly is uncertain.
How much does it cost to fix a drafty exterior door?
HomeGuide's national planning data lists professional weatherstripping at about $35 to $90 per hinged door and DIY materials from about $0.16 to $25 per linear foot, depending on the product. Alignment, frame, sill, rot, water, paint, and lead-safe work are separate scopes, so get an itemized diagnosis rather than treating those ranges as a quote.