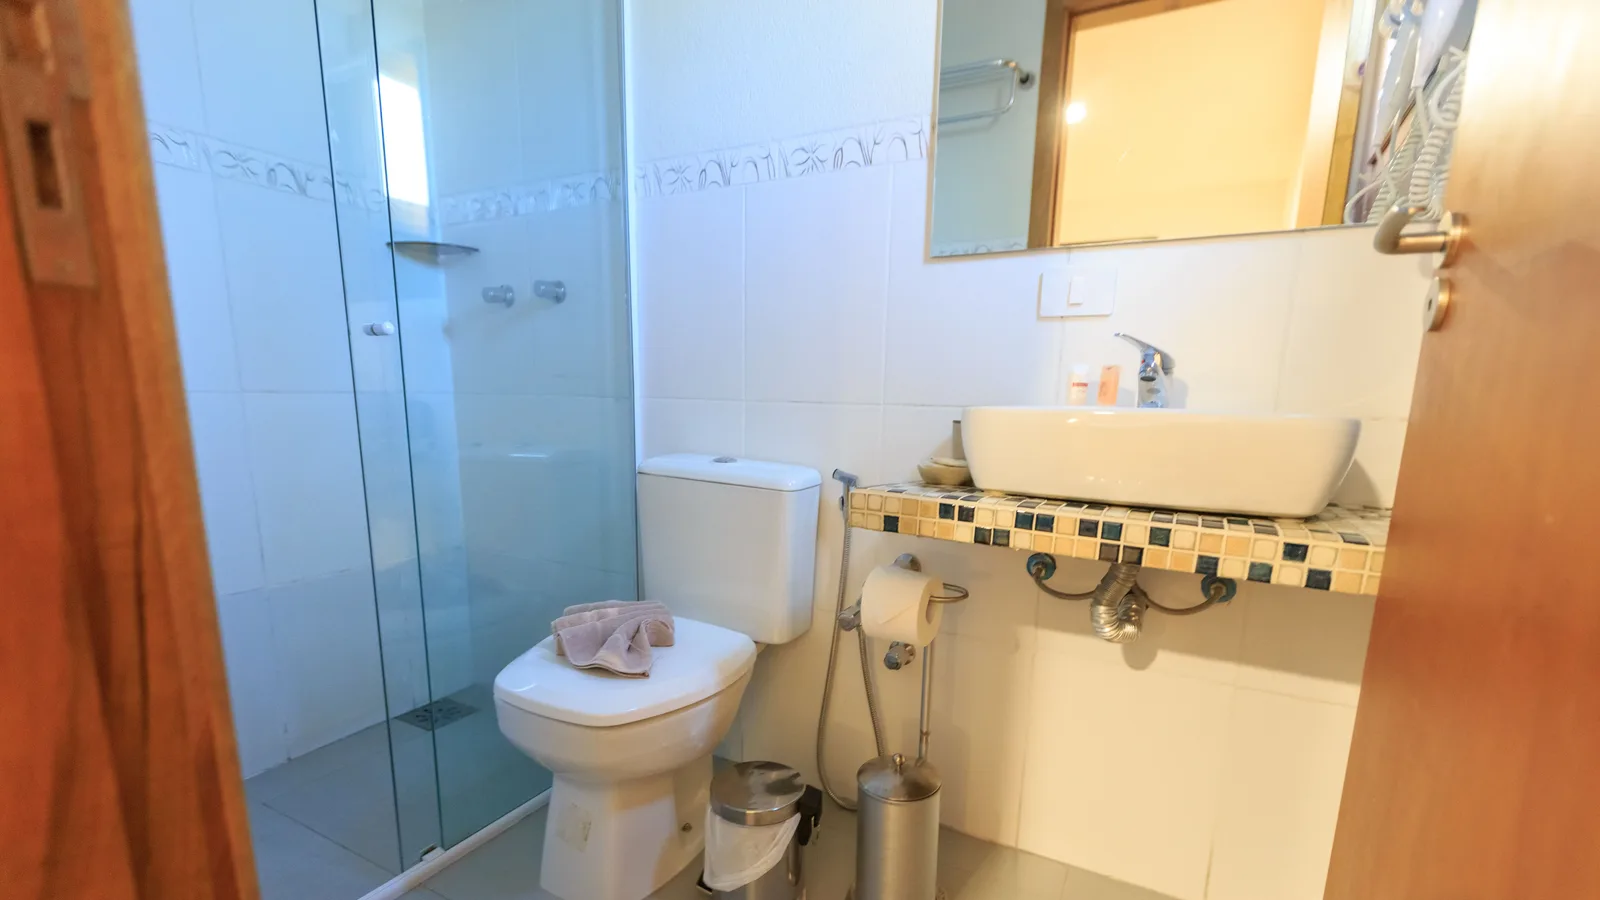
Check leaks and structural warning signs; shim only a slight issue found right after a new installation with the seal confirmed sound.
A toilet that rocks needs attention before it turns into a hidden leak. First look for water, a sewer odor, cracked porcelain, a soft floor, or loose hardware. A slight rock found immediately after a new installation may be a finish-level fit issue; a toilet that has moved in service can have a compromised wax or rubber seal. Do not solve established movement or leakage by cranking down bolts, shimming around a potentially failed seal, or sealing over evidence of a leak.
The useful question is where the movement starts. A bowl that shifts at the floor is different from a tank that moves on the bowl, and either one deserves a different repair path.
Make the five-minute safety check
Keep the toilet out of service if water appears at the base, supply connection, tank, or floor. A wet floor near an outlet, a ceiling stain below the bathroom, sewage odor, a floor that gives underfoot, or a visible crack calls for a plumber rather than a quick stabilization attempt. Do not force a stiff or corroded shutoff valve; use the household's known water-leak plan if water is active.
With the lid closed, press lightly at the front, both sides, and rear of the bowl. Watch the base, not the tank lid. Then hold the tank separately and check it for movement. A tank-to-bowl problem is not a reason to shim the base. Photograph the gap, the bolt caps, and any staining before changing anything.
Sort the symptom before buying a part
| What you find | Reasonable next step | Stop and call |
|---|---|---|
| Slight rock found immediately after a new installation; dry floor, sound bowl, no visible damage | Check the bowl-to-floor hardware and use purpose-made plastic shims only if the installation and seal are confirmed sound | The bowl still moves after a careful check |
| Established movement after the toilet has been in service | Stop using the toilet and arrange inspection of the seal, flange, and floor | Do not shim around a potentially compromised wax or rubber seal |
| Loose-looking nut or missing cap | Identify it as bowl-to-floor hardware; tighten only as the maker permits | Corrosion, stripped threads, or resistance that needs force |
| Water, odor, staining, or soft flooring | Stop use, document the condition, and protect the room | Any suspected seal, flange, subfloor, or drain problem |
| Crack in porcelain or flange damage visible after removal | Leave the fixture out of service until assessed | Any attempt to glue, patch, or overtighten a load-bearing part |
American Standard says a newly installed bowl can have up to 1/8 inch of tolerance because of floor and bowl variation, and it suggests bowl-to-floor hardware, toilet shims, and a front bead of caulk for a slight rock at that stage. That narrow installation guidance does not establish that the seal on a toilet that has already moved in service remains intact. Oatey notes that a damaged flange can let movement break the seal and send water into flooring or the ceiling below.
Check accessible bowl-to-floor hardware carefully
Remove only the decorative caps at the base if they lift off normally. The nuts underneath attach the bowl to the closet flange. Verify that each is present, not obviously corroded, and not loose enough to turn by hand. Never confuse these with tank bolts or a supply-line nut.
If the toilet is dry and the hardware turns normally, use a wrench to make tiny alternating adjustments: a little on one side, then the other. Test the bowl between adjustments. Stop as soon as it is secure. Porcelain does not give a useful warning before it cracks. American Standard and Korky both warn against overtightening; a bowl or flange damaged that way is a much larger repair than a shim.
Use shims only for a slight new-installation fit issue
Purpose-made plastic toilet shims are shaped to fill a small floor-to-base gap and resist moisture. Use them only for a slight rock identified immediately after a new installation when the bowl, floor, flange, and seal are known to be sound. A toilet that has been used and then develops or repeats movement needs to stay out of service for seal, flange, and floor inspection; a dry-looking exterior cannot prove that its wax or rubber seal survived the movement. Cardboard, wood scraps, coins, and folded packaging compress, absorb moisture, or migrate.
- Clean and dry the exposed floor around the base.
- Locate the gap by pressing the bowl gently from different sides; do not bounce or twist it.
- Slide a plastic shim into the gap only until the bowl stops moving. More force is not more stability.
- Test again from the front, sides, and rear. The bowl should sit solidly without forcing it toward one bolt.
- Mark and trim only the exposed shim portion with a suitable tool, keeping hands and flooring protected.
- Follow the toilet maker's caulk guidance after the stability and leak test, rather than using caulk to hold a moving bowl in place.
Our view: a shim is a reasonable finish-level correction immediately after a sound new installation, not permission to ignore movement that returns. If the gap changes, the bowl rocks again, the toilet has moved in service, or the floor flexes, stop use and inspect the seal, flange, and floor before putting it back in service.
Know when the toilet has to come up
A reset exposes the seal and flange, so it is a different job from adding a shim. Korky and Oatey both direct installers to inspect the flange for cracks or damage and to use a new seal when a toilet is removed. Oatey describes the flange as the connection that anchors the toilet to the floor and drainage system; its current guidance says it should sit on top of or level with the finished floor.
Do not lift the bowl for a first look if water is spreading, the floor is soft, the flange is likely corroded, the toilet is unusually heavy or awkward, or you do not have a clear plan to reconnect and test it. A plumber can determine whether the repair needs a flange ring, an extender, subfloor repair, a different seal, or a replacement fixture. The distinction matters because a seal cannot restore structure.
The 4Homes weekly email
Every Tuesday: what changed for homeowners this week, plus our newest guides.
No spam. Unsubscribe anytime.
Plan the repair cost in the right order
Price the smallest verified repair first: shims, then appropriate hardware or a seal only when removal is justified. A flange repair, subfloor work, water-damage remediation, or fixture replacement needs an on-site scope. Ask a plumber to separate diagnosis, toilet pull-and-reset, flange or floor work, parts, access, cleanup, and damage repair instead of accepting one unexplained total.
Take the photos, the toilet model information, and the symptom log to the appointment. The contractor quote comparison guide can help compare written scopes. For active water, use the home water-leak plan; for a running tank with a stable bowl, start with the running-toilet checks. A bathroom refresh can wait until the room is dry and structurally sound.
Before putting the toilet back in service
- The bowl does not move when pressed lightly from any side.
- The floor is dry and firm around the base.
- The supply connection and shutoff remain dry.
- The tank is stable separately from the bowl.
- Several flushes leave no water at the base or below the bathroom.
- There is no sewer odor, crack, new stain, or return of the wobble.
Recheck after the first quiet period and after normal use. A repair that holds for one flush but fails later did not resolve the cause.
Sources used
American Standard guidance on a rocking bowl and toilet installation; Korky guidance on a wobbling toilet, flange damage, shims, and bolt-tightening boundaries; Oatey guidance on flange repair, finished-floor height, replacement seals, and leak risks; and Fluidmaster bowl-to-floor hardware information.
Frequently Asked Questions
Why does my toilet rock when I sit on it?
A loose bowl-to-floor connection, an uneven floor, a flange that is too high or damaged, or a failing seal can leave the toilet unstable. The bowl should not move. Water at the base, a sewer odor, a soft floor, cracked porcelain, or recurring movement changes this from a shim question to a repair diagnosis.
Can I use shims to fix a rocking toilet?
Purpose-made plastic toilet shims can correct a slight rock found immediately after a new installation when the bowl, floor, flange, and seal are confirmed sound. They do not repair a cracked or loose flange, a failed seal, soft subfloor, or damaged porcelain. A toilet that has moved in service, rocks again, or leaks needs to stay out of use for inspection rather than being shimmed around a potentially compromised seal.
Should I tighten the bolts on a wobbly toilet?
Check visible bowl-to-floor hardware, but tighten only in small alternating increments and stop once it is snug. Do not force corroded hardware or keep tightening a toilet that still rocks. Manufacturers warn that overtightening can crack porcelain or damage the flange.
Do I need to replace the wax ring if the toilet rocks?
Movement after a toilet has been in service can compromise a wax or rubber seal. Stop using it and have the flange, floor, and seal inspected rather than assuming a shim protects the existing seal. If removal is needed, use a new seal as instructed for the exact product; do not reuse a wax ring. A plumber should assess hidden water damage, a broken flange, or an uncertain reset.
Should a toilet be caulked to the floor?
Manufacturer guidance differs. American Standard suggests caulk at the front base after shimming, while Korky says to leave the back uncaulked if caulk is used so a leak can be noticed. Follow the toilet manufacturer, local code, and the product instructions rather than using caulk to hide an active leak.