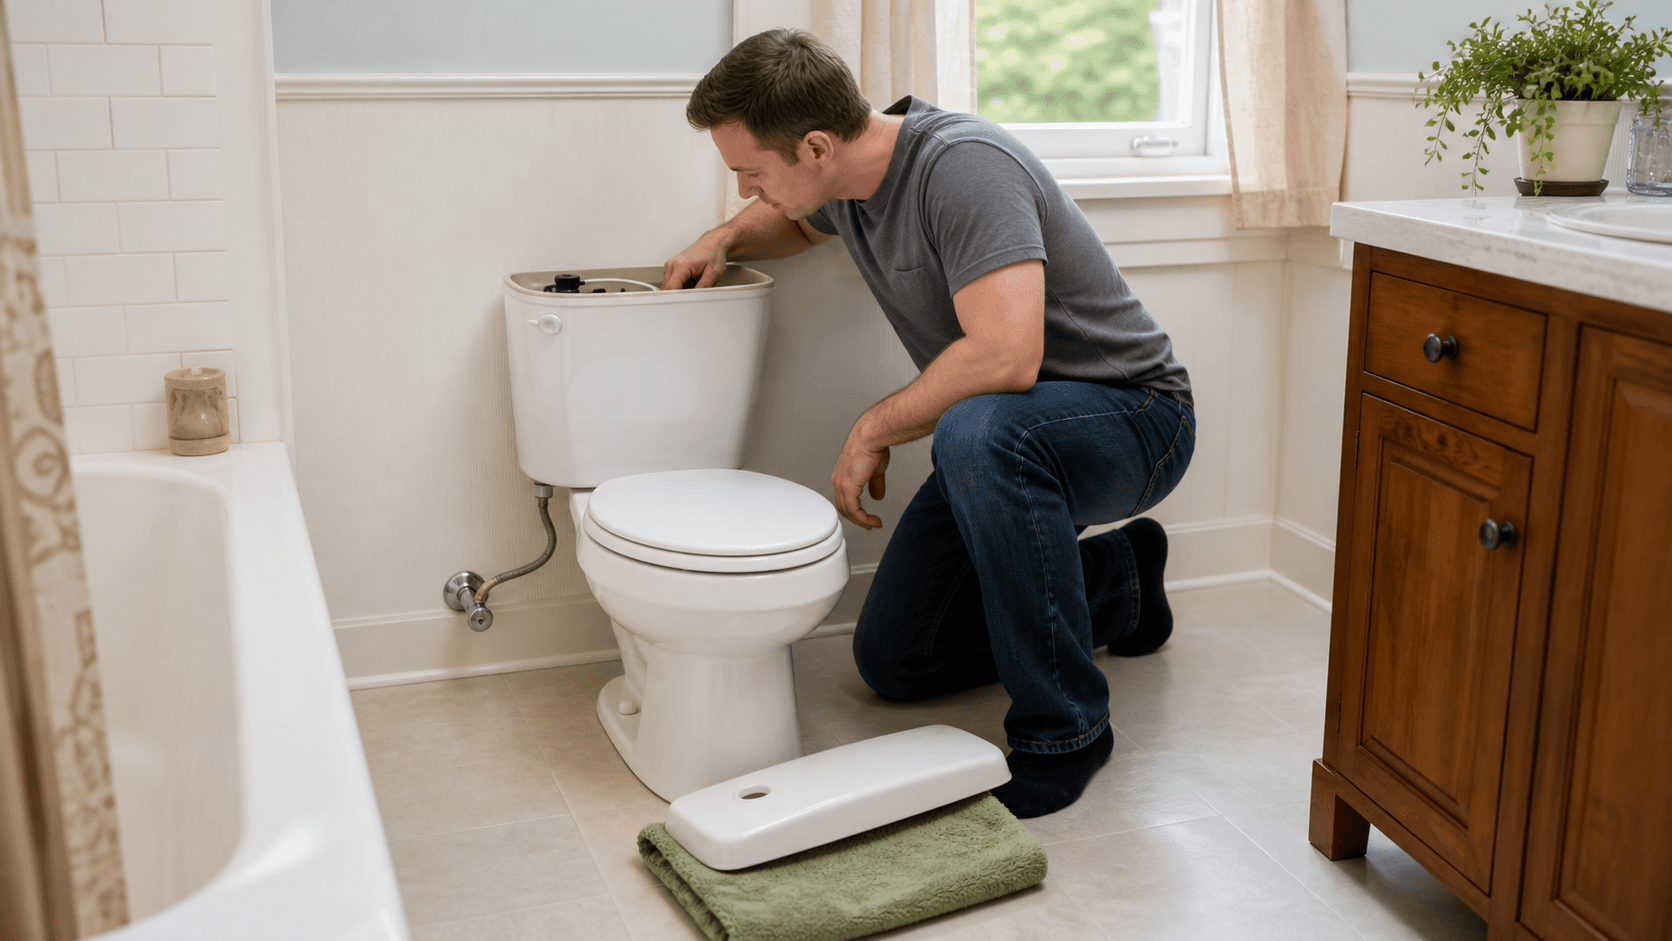
Stop the refill without forcing a valve, then watch one complete cycle and follow the parts your toilet actually uses.
Stop the refill first, then watch one complete flush. If the floor and supply connection are dry and the toilet’s own shutoff valve turns normally, close it slowly to isolate the fixture. Do not force a stiff, corroded, painted, or leaking valve. Once the immediate water use is stopped, the sound and water movement inside a tank-type toilet can usually narrow the problem to the fill side, the flush seal, or the chain and handle that connect them.
Water on the floor changes the job. Water around the base, supply line, shutoff, tank bolts, or wall can damage the room below. Keep people away from a wet floor, stop using the toilet, and call qualified help when the source is unclear, the fixture moves, water is spreading, or moisture is near electrical equipment.
Use the fixture shutoff only when it behaves normally
The toilet shutoff is usually on the wall or floor near the supply connection. Check the valve, supply line, and surrounding floor before touching it. If everything is dry and the handle moves with ordinary hand pressure, turn it toward closed slowly. Stop when it closes; extra force does not make it more closed.
Leave a valve alone if it will not move with normal hand pressure, looks badly corroded, begins dripping, or the pipe behind it flexes. Pliers can turn a running toilet into an active supply leak. Use the home’s known main-water plan or call a plumber. The 4Homes water-leak plan explains how to document shutoffs before a leak makes the introduction.
After the supply is closed, flush once if the bowl is not clogged and the fixture is safe to use. This lowers the tank water and confirms that the shutoff worked. Lift a removable tank lid with both hands and place it flat on a towel.
Watch what happens after one flush
Toilets do not all use the same parts. Some have a rubber flapper. Others use a tower, canister, dual-flush seal, pressure-assist unit, or another mechanism. The names below describe common tank-type functions. If the tank looks different, find the model number and use the manufacturer’s instructions.
Turn the fixture supply back on only if the shutoff and connections remained dry. Flush once and watch from above without putting hands into moving parts.
Water keeps entering the overflow area
A fill valve controls incoming water. A float or sensor tells it when the tank has reached its intended level. If the fill valve never shuts off and water continues into the overflow tube or overflow path, the fill mechanism may be stuck, misadjusted, dirty, damaged, or receiving a bad signal from its float. The overflow route is doing its job by sending excess tank water into the bowl instead of onto the floor. It is not the cause.
Do not copy a water-level measurement from another toilet. Marks inside the tank, the owner’s manual, and the fill-valve instructions are better evidence. Portland Water Bureau’s manufacturer-neutral toilet leak guide shows several common float arrangements and notes that fill mechanisms have different adjustment methods. If an adjustment is not obvious and documented for that part, stop rather than bending or twisting it by guesswork.
The tank becomes quiet, then refills again
A toilet that cycles on by itself is often losing tank water into the bowl. On a common gravity toilet, the flapper or another flush-valve seal may be warped, dirty, misaligned, or incompatible with the fixture. As the tank level drops, the fill valve opens to replace the lost water. The fill valve makes the noise, but the original leak may be at the flush seal.
Look at the chain or linkage while the handle is at rest. It should let the sealing part return fully without becoming trapped underneath it. Too much slack can snag. Too little can hold the seal slightly open. A handle that must be jiggled points toward linkage or alignment, but it does not prove which part needs replacement.
The refill runs much longer than usual
First confirm that the fixture shutoff is fully open only if it operates safely and stays dry. A partly closed valve can slow refill. The fill valve, inlet screen, supply pressure, or internal passage may also be involved. A weak refill is different from water pouring continuously through the overflow path, so watch the tank rather than diagnosing from sound alone.
Notice where the small refill tube is placed. Its routing varies. Do not push it deeper into another tube based on a generic diagram because an incorrect position can affect refill or create siphoning. Match the toilet and fill-valve instructions.
A dye test confirms a leak, not the exact repair
The U.S. Environmental Protection Agency’s WaterSense home-maintenance guidance describes placing a small amount of food coloring or a dye tablet in the tank, waiting without flushing, and checking whether color reaches the bowl. Color in the bowl confirms that tank water is crossing into the bowl when it should not. EPA advises flushing afterward to avoid staining.
Check the toilet manufacturer’s instructions first. Skip the test if additives are prohibited, the tank may stain, the fixture uses an unfamiliar pressure system, or cleaning chemicals are present. Never mix products in the tank. Where dye is allowed, use the stated amount and timing, then flush as directed.
A positive result often points to the flapper or flush-valve seal, but it does not prove that a common replacement flapper will fit. EPA’s toilet leak guidance recommends matching replacement parts to the toilet model and suggests bringing the old flapper or a clear photograph when selecting a replacement. Width, attachment, float features, and flush design can differ.
The 4Homes weekly email
Every Tuesday: what changed for homeowners this week, plus our newest guides.
No spam. Unsubscribe anytime.
Repair only the part the evidence identifies
A tangled chain can sometimes be corrected without replacing the valve beneath it. A dirty sealing surface may need careful cleaning using a method allowed by the manufacturer. A damaged seal needs the correct replacement. Continuous water entering the overflow path may require fill-valve adjustment or replacement rather than a new flapper.
Shut off the fixture and drain the tank before removing a part. Follow the toilet and replacement-part instructions. Do not overtighten plastic nuts, tank bolts, or supply connections. Porcelain can crack, threads can strip, and a compressed seal can leak. If the work requires removing the tank, dealing with a corroded shutoff, or guessing which assembly fits, call a plumber.
Test the repair while the bathroom is still clear
Open the fixture shutoff slowly and watch the valve, supply line, tank connection, and floor. Let the tank fill completely. Flush several times, allowing a full refill between tests. Confirm that the water stops at the toilet’s intended level, the seal closes without help, the handle returns, and every outside surface remains dry.
Check again after the toilet has been quiet. A repeated refill, faint hiss, or moving bowl water means the work is not finished. Record the model and installed part in the house file, then add a toilet and shutoff check to the seasonal home-maintenance rhythm. The repair should stop the correct water path without creating a new leak outside the fixture.