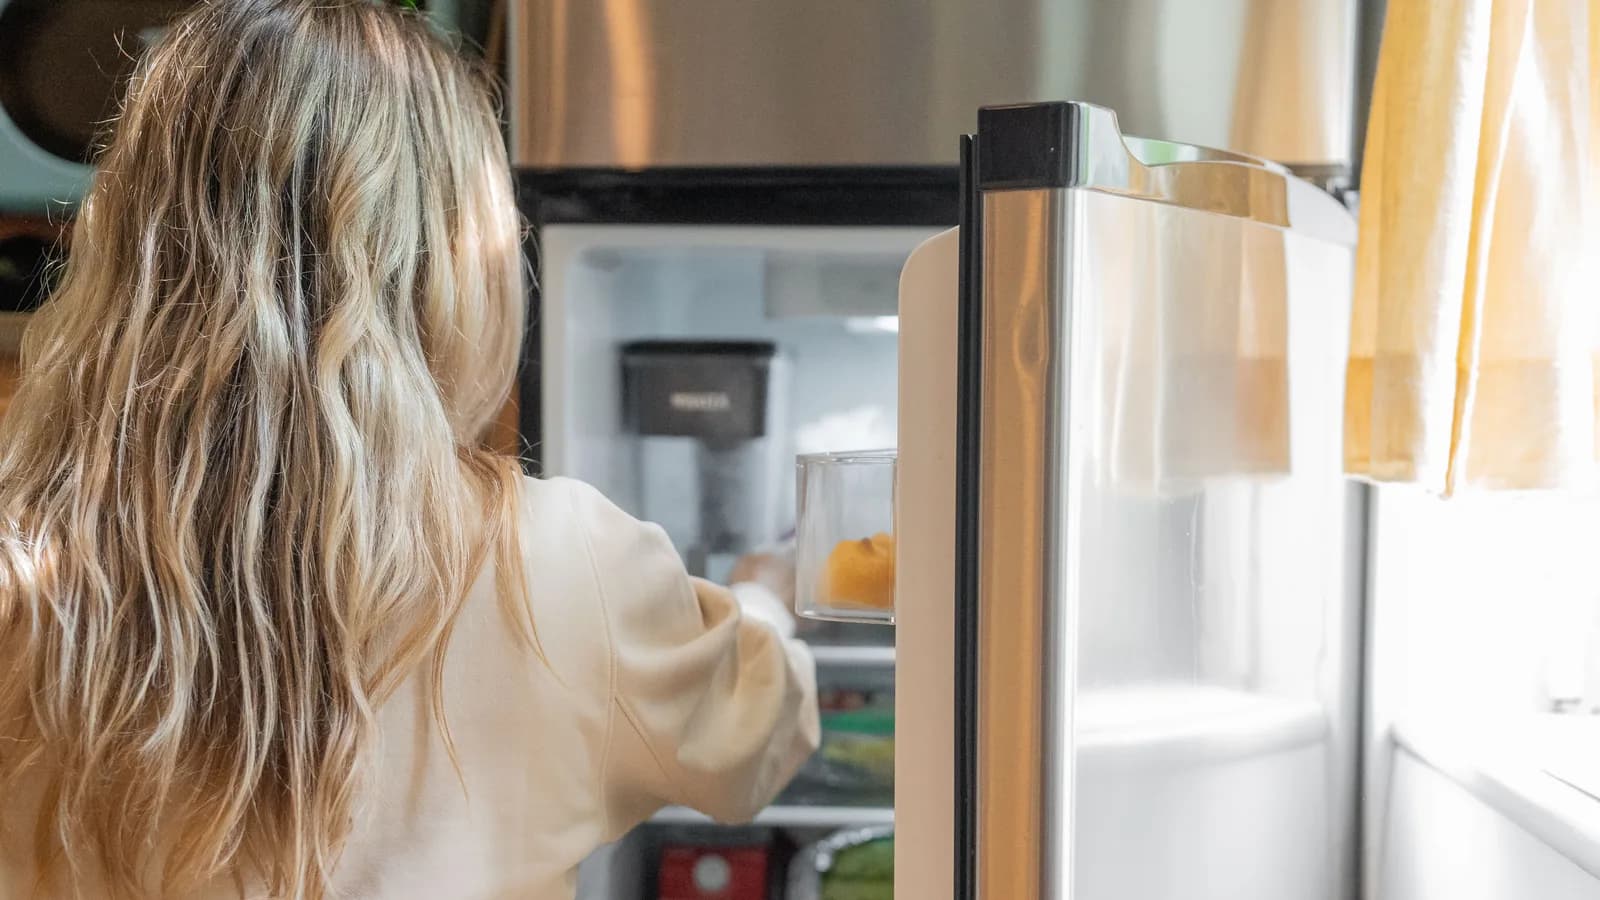
Separate cooling, controls, water supply, filtration, and the ice-maker assembly without forcing the mechanism or heating a frozen line.
An ice maker that stops producing ice is usually a temperature, water, control, or filter problem. Start by protecting the food, not by resetting the appliance. Check the refrigerator and freezer temperatures with an appliance thermometer. If either compartment is warming, move perishable food as needed and treat the cooling problem as the main failure.
My opinion: an empty ice bin is a poor reason to start taking a refrigerator apart. The useful homeowner checks happen at the controls, filter, water supply, and visible ice bin. Panels, valves, live wiring, refrigerant equipment, and frozen internal tubing belong to service.
Name the appliance and the exact failure
Record the refrigerator model, ice-maker location, last normal batch, recent filter change, power interruption, water shutoff, move, or installation. Separate no production from slow production, small cubes, a jammed dispenser, bad-tasting ice, and a leak. Those are different service calls. Empty the bin only if the manual calls for it, then note whether the maker produces any new cubes during the model's stated cycle window.
GE recommends a fresh-food setting of 37°F and a freezer setting of 0°F for the models covered by its support guidance. It also says its ice maker must reach 16°F before a cycle begins. Use the settings and timing in your own manual rather than copying those numbers to a different machine. A stable thermometer reading matters more than a cold-looking display.
Check the controls without forcing the mechanism
Confirm that the ice maker is turned on using the model's documented switch, arm, menu, or app control. Make sure the bin is fully seated and no loose cube is visibly blocking the shutoff arm or rake. Do not bend the arm, rotate gears, pry cubes from a mold, or hold an internal switch closed. GE warns that the ice mold may be hot, which is one more reason to keep tools and fingers out.
Read the display for a cooling, filter, door, or ice-maker alert. Record the code before clearing anything. If a reset exists in the owner's manual, use it once and write down the result. Repeated resets erase a useful symptom without repairing the failed control, sensor, motor, or water path.
Follow the accessible water path
Verify that the household water supply is on and that the refrigerator's visible shutoff is fully in its normal position. Inspect the accessible line and floor for kinks, dampness, corrosion, or a connection pulled tight. Do not move a heavy refrigerator when that could strain the water line, cord, floor, or anti-tip hardware. Stop and close the correct supply valve if water is actively leaking and the valve is safely reachable.
Check the filter status and installation instructions for the exact model. Whirlpool and GE both identify a clogged filter as a cause of restricted ice production, and both commonly use a six-month replacement interval in their general guidance. Your water conditions and manual may call for a different interval. Use the specified cartridge, seat it exactly as directed, and do not run without a required filter or approved bypass part.
The 4Homes weekly email
Every Tuesday: what changed for homeowners this week, plus our newest guides.
No spam. Unsubscribe anytime.
Leave heat, probes, and internal tests to service
Do not use a hair dryer, heat gun, boiling water, knife, or wire to clear a suspected frozen fill tube. Do not test an inlet valve with exposed power or disconnect internal water fittings. A frozen tube can be the result of a valve or temperature fault, so melting the symptom may create a leak while leaving the cause untouched.
Stop using the appliance and call qualified service for burning odor, sparking, repeated breaker trips, exposed wiring, water near electrical parts, a warm refrigerator, or a leak you cannot safely isolate. If the refrigerator holds temperature but the maker remains dry after the documented checks, book appliance service with the model, temperature log, filter record, alert codes, and water observations.
Close the repair with one complete cycle
Ask the technician to identify whether the failure was temperature, supply, filtration, fill, sensing, control, or the ice-maker assembly. Save the part number and measured finding. After repair, confirm stable compartment temperatures, no leaks, a completed fill-and-harvest cycle, normal cube shape, and a working shutoff when the bin reaches its limit. For a separate water leak under the appliance, use the home water leak plan rather than treating the ice maker as the only possible source.