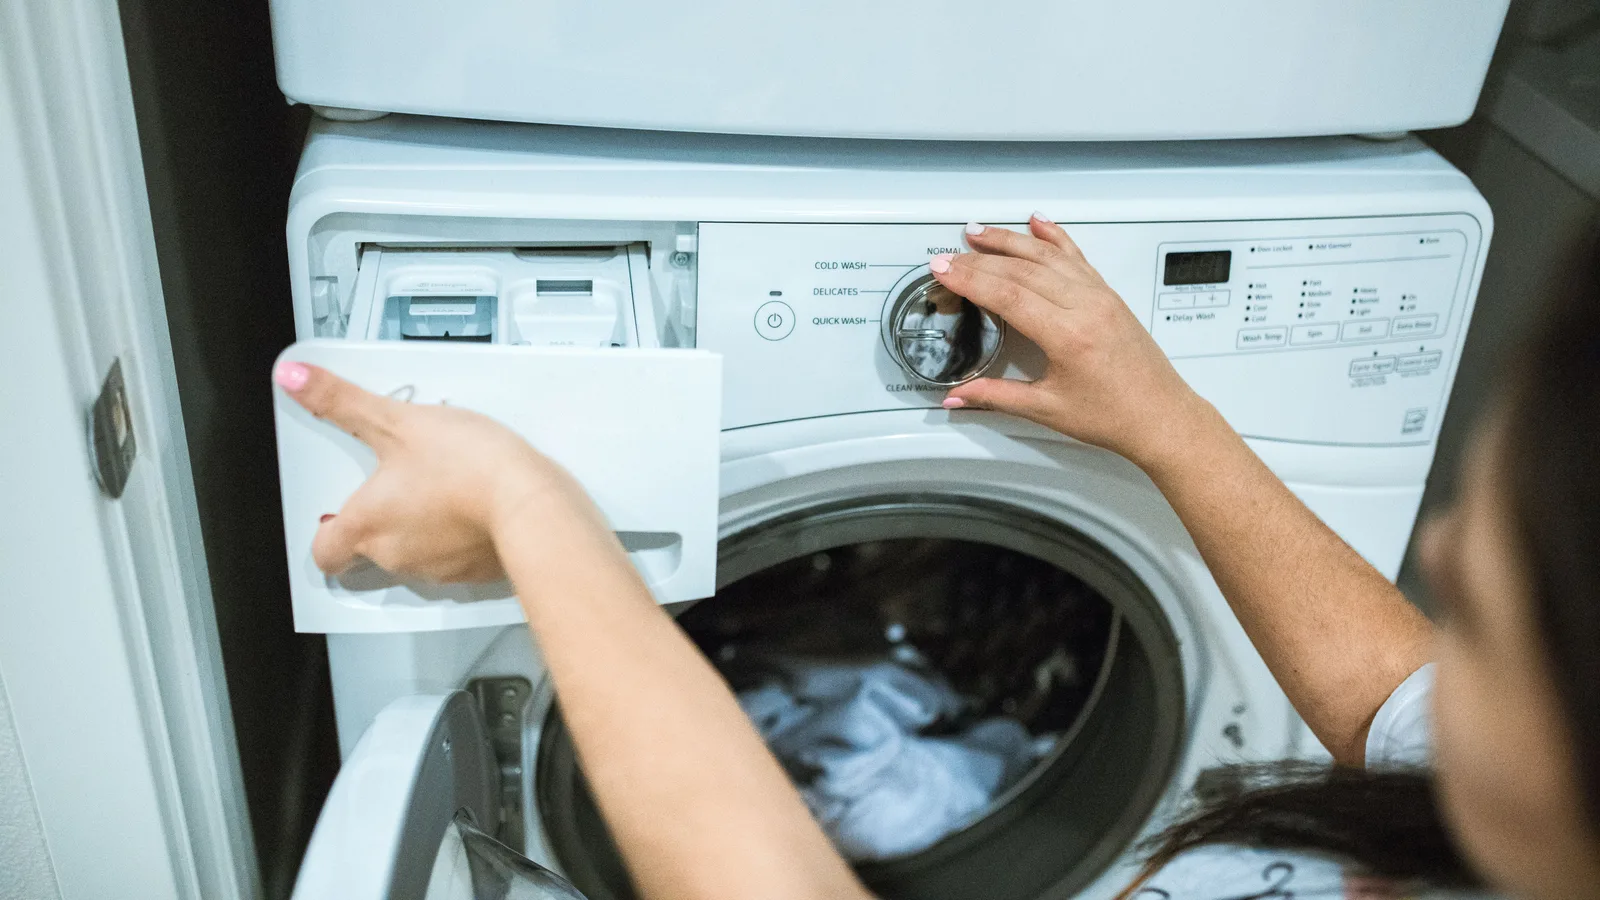
Use the exact washer manual to remove and clean the dispenser drawer, clear approved surfaces, and know when residue needs service.
Clean a washing-machine detergent drawer by following the exact model’s removal instructions, washing only the removable parts it names, and clearing residue from the accessible housing without forcing hidden components. Detergent, fabric softener, and standing moisture can leave deposits that interfere with dispensing. The safe solution is a model-specific clean-and-dry routine, not a universal bleach soak or a screwdriver in the water jets.
The detergent drawer is the dispenser that carries detergent and additives into the wash. It may have removable inserts, a siphon cap, an automatic-dose tank, or a fixed housing with water inlets above it. Similar-looking washers can use different release tabs and cleaning boundaries, so the model manual is the first tool.
Identify your dispenser before pulling it
Find the washer’s model number and open its owner manual to the care, dispenser, or cleaning section. Front-load machines often have a pull-out drawer; top-load models may use a tray, cup, or dispensing compartment. Some newer machines have automatic-dose reservoirs that should not be treated like a simple detergent tray.
Read the symbols on each compartment as well as the manual. A prewash space, main-wash cup, fabric-softener insert, bleach compartment, and dosing reservoir do not take the same products or the same maintenance method. Photograph the drawer while assembled so inserts return to their proper positions. Do not assume an online video for another model has the same release lever.
| What you see | Likely owner task | Stop point |
|---|---|---|
| Standard removable front-load drawer | Release it by the manual, remove allowed inserts, rinse and brush gently | Drawer resists its documented release or the housing is damaged |
| Softener cap or siphon insert | Remove and clean only as directed, then reseat fully | Cracked, missing, or unknown insert |
| Automatic-dose reservoir | Use the model’s stated maintenance program and approved product steps | Electronic warning, leak, or cleaning method not described in the manual |
| Fixed top-load dispenser | Clean accessible surfaces with the approved method | Access requires removing a cabinet panel or control assembly |
Know when residue points to a larger issue
A thin film of detergent or softener is common maintenance. Thick waxy buildup, product left after a normal cycle, standing water, mold-like growth, a sour odor, or a leak needs more careful observation. Record the product used, its amount, water temperature setting, cycle, and which compartment fails. That record is more useful than repeatedly running a cleaner through the machine.
Stop and arrange service for smoke, a hot plug, damaged cord, sparking, water near electrical parts, a burning smell, a damaged drawer rail, a housing crack, or an active leak. Do not open the control panel, reach behind the washer, remove a cabinet panel, or probe water inlets. If the washer leaks during filling, use the washer leak first-response guide before treating the dispenser as cosmetic.
Gather a mild, model-approved cleaning setup
Most manufacturer instructions call for warm water, a soft cloth or sponge, and a small soft brush for permitted drawer parts. Keep a dry towel and shallow basin nearby. Use cleaning products only when the manufacturer specifies them. Bleach, abrasive pads, sharp picks, strong solvents, and dishwasher cycles can damage plastic, seals, labels, and automatic-dose components.
Unplug the washer only if the manual directs it for this task or when an accessible cord and dry conditions make it appropriate. Never tug the cord, touch a wet plug, or move a stacked machine just to clean a drawer. Turn off the machine and wait until it is not running before removal. Keep children and pets away from detergent and loose inserts.
Clean the drawer and housing in controlled steps
- Read the exact release method. Pull the drawer only to the stop point named in the manual and use its release tab or insert.
- Photograph the layout. Capture inserts, caps, siphons, labels, and fill marks before disassembly.
- Remove only permitted pieces. Set small parts in a bowl so they cannot enter a drain or disappear into the laundry area.
- Rinse and brush gently. Use warm water and the approved soft brush to loosen residue from corners and channels.
- Clean the accessible housing. Use a damp cloth or small soft brush only where the manual allows; do not push tools into water-supply holes.
- Dry and reassemble. Seat every insert in its documented orientation, then slide the drawer in without force.
- Run the prescribed check. Use a rinse or maintenance cycle only when the manual recommends it, then observe normal dispensing on the next load.
Amana’s front-load guidance, Electrolux support instructions, and other manufacturer examples all emphasize the same boundary: clean the removable drawer and accessible recess, but use the actual machine directions for release, inserts, and maintenance cycles. A brush can loosen residue; it cannot diagnose a failed valve, pressure issue, or electronic dosing fault.
Handle mold, odor, and product buildup without improvising
Moisture and residue can make a drawer smell stale. First remove the approved components and clean them as directed. Wipe the accessible housing, dry parts completely, and leave the drawer position the manual permits for drying after a wash. Do not mix vinegar, bleach, ammonia, or a commercial cleaner in the drawer. Do not spray a cleaner into a dark housing where it can remain on unseen seals or electrical components.
If visible growth returns quickly, detergent will not dispense, or water remains where the manual says it should not, record the pattern and contact the manufacturer or a qualified appliance technician. A smell can come from the drum, door gasket, drain path, or plumbing rather than the drawer. The moisture-maintenance guide offers a separate reminder: cleaning a visible part is not the same as correcting the source of persistent dampness.
Use detergent and softener as the manual intends
More detergent is not a cleaning plan. High-efficiency washers, concentrated formulas, powdered products, fabric softener, and hard water can all change the residue pattern. Use the product amount and compartment named by the washer manual and detergent label. Do not pour a product into a compartment simply because it fits.
Check whether an insert must be present for liquid detergent, whether the softener siphon cap is required, and whether the dispenser has a maximum fill line. A missing or misseated insert can make a normal rinse look like a failure. If you changed detergent, softener, or dosing habits shortly before buildup started, make one documented change at a time and observe the result.
The 4Homes weekly email
Every Tuesday: what changed for homeowners this week, plus our newest guides.
No spam. Unsubscribe anytime.
Plan costs before replacing parts
Routine cleaning often costs nothing beyond a soft cloth and brush already at home. If an insert, drawer, rail, or housing is damaged, get the exact part number from the model manual before pricing it. Repair Clinic lists a typical $20 to $50 range for a replacement detergent drawer; that is a part-only planning range, not a diagnosis, installation price, or guarantee for every brand. A generic-looking drawer may have different seals, siphons, and mounts. Compare part cost, shipping, return terms, and whether the repair requires a technician.
Save money by cleaning early, using the correct product amount, and protecting the removable inserts. Do not buy a replacement drawer for a dispensing symptom until the model’s troubleshooting steps identify it. For a service visit, ask the written scope to separate diagnosis, part, labor, installation, and warranty. Our quote comparison guide helps structure any repair estimate, even when the job is an appliance rather than a building system.
When to call an appliance professional
Call when the drawer will not release by its documented method, the housing or rail is cracked, water or detergent leaks into the cabinet, dispensing remains poor after owner-approved cleaning, an automatic-dose system reports a fault, or a drain, valve, or electrical symptom appears. Do not force a stuck drawer; a replacement housing can cost more than a careful diagnosis.
Keep the model number, photos of the assembled and cleaned drawer, the product names, cycle details, and a short symptom log. That helps a technician distinguish residue from a fill, valve, control, or installation issue. If there is smoke, fire, electrical arcing, or an active leak near electricity, leave the area safe and follow emergency guidance rather than continuing maintenance.
Sources used
Electrolux, How to Clean the Washing Machine Detergent Drawer; Amana Product Help, Cleaning the Dispenser Drawer; AEG support guidance for cleaning dispenser drawers; Repair Clinic detergent-drawer replacement-parts guidance for the dated part-only planning range; the exact washing machine owner manual; and the detergent and fabric-softener label instructions.
Detergent drawer cleaning FAQs
How do I remove a washing machine detergent drawer?
Use the exact washer manual. Many drawers stop partway, then release with a tab, button, or insert in the fabric-softener compartment, but the location and method vary. Do not force a drawer that will not release or pry against the housing.
Can I soak a detergent drawer?
Only if the manufacturer permits it for that model and its inserts. Warm water may loosen detergent or softener residue, but automatic-dose components, electronics, and certain inserts can have different rules. Follow the manual rather than using bleach, a dishwasher, or a generic soak.
Why is water left in the detergent drawer?
A small amount can be normal on some models, but residue, blocked water jets, an unseated insert, excessive detergent, a level issue, or a supply problem can change dispensing. Clean only the owner-serviceable parts and use the model’s troubleshooting steps if the pattern continues.
How often should a detergent drawer be cleaned?
Follow the washer manual. Usage, detergent type, fabric softener, and visible residue matter more than a universal calendar. Check the drawer when buildup appears, when product does not dispense properly, or during the model’s recommended maintenance routine.
Should I use bleach to clean a detergent drawer?
Do not use bleach unless the washer manufacturer explicitly permits it for the drawer and housing. Mixing cleaners or leaving residue near a dispenser can create material and safety problems. Mild soap and water are common manufacturer directions, but the exact manual controls.
Frequently Asked Questions
How do I remove a washing machine detergent drawer?
Use the exact washer manual. Many drawers stop partway, then release with a tab, button, or insert in the fabric-softener compartment, but the location and method vary. Do not force a drawer that will not release or pry against the housing.
Can I soak a detergent drawer?
Only if the manufacturer permits it for that model and its inserts. Warm water may loosen detergent or softener residue, but automatic-dose components, electronics, and certain inserts can have different rules. Follow the manual rather than using bleach, a dishwasher, or a generic soak.
Why is water left in the detergent drawer?
A small amount can be normal on some models, but residue, blocked water jets, an unseated insert, excessive detergent, a level issue, or a supply problem can change dispensing. Clean only the owner-serviceable parts and use the model’s troubleshooting steps if the pattern continues.
How often should a detergent drawer be cleaned?
Follow the washer manual. Usage, detergent type, fabric softener, and visible residue matter more than a universal calendar. Check the drawer when buildup appears, when product does not dispense properly, or during the model’s recommended maintenance routine.
Should I use bleach to clean a detergent drawer?
Do not use bleach unless the washer manufacturer explicitly permits it for the drawer and housing. Mixing cleaners or leaving residue near a dispenser can create material and safety problems. Mild soap and water are common manufacturer directions, but the exact manual controls.