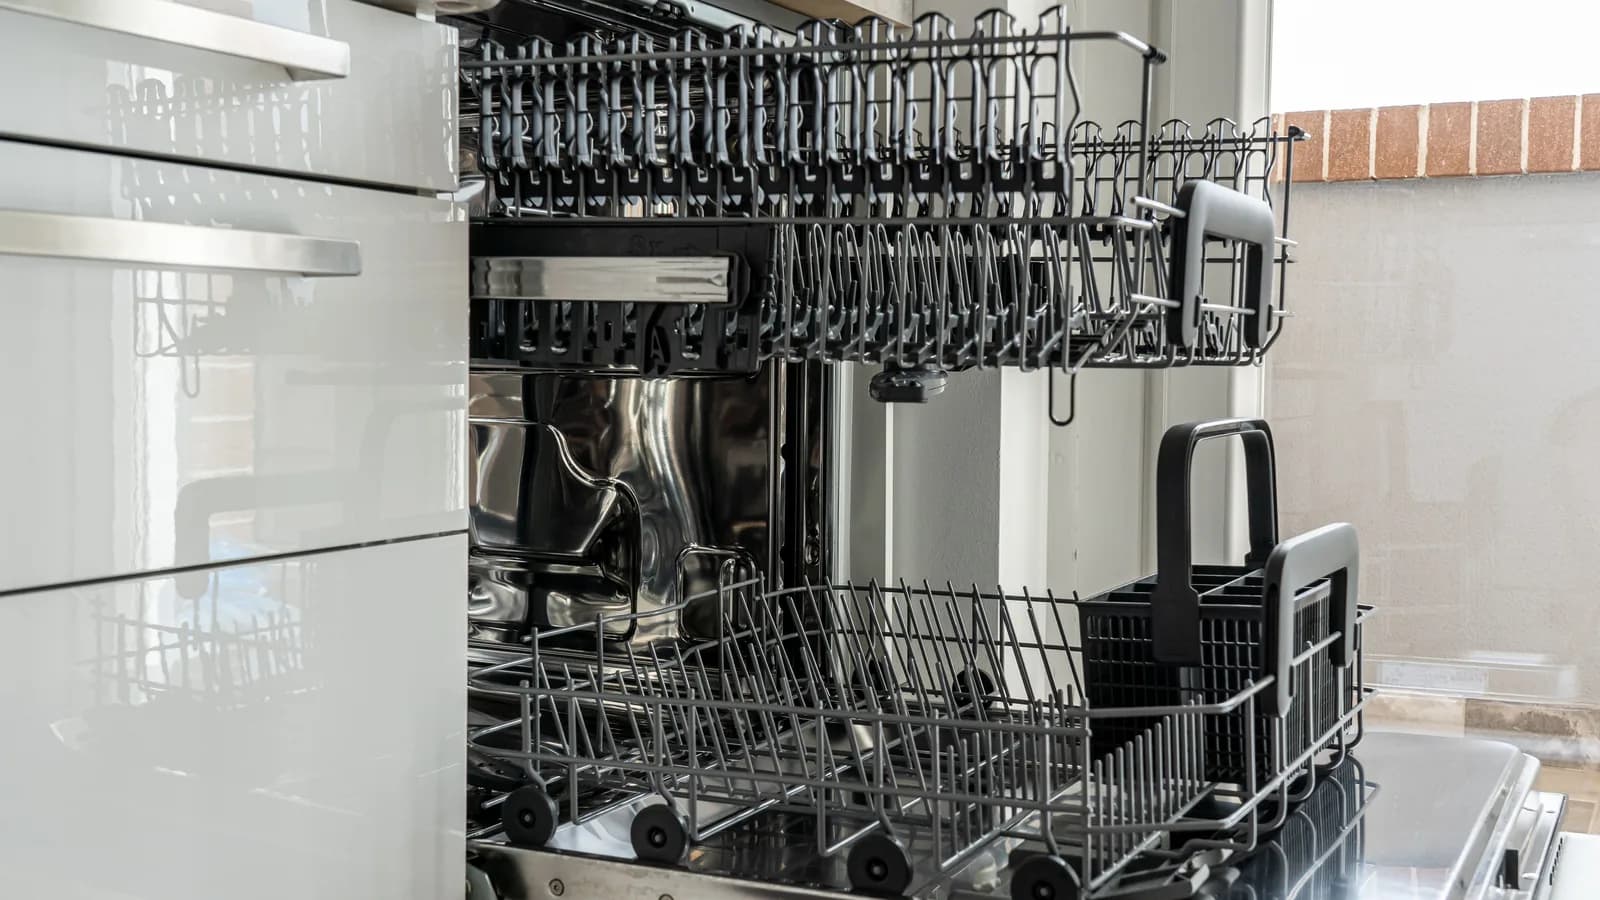
Separate wet plastic from a uniformly damp load or standing tub water, then test the model-specific cycle, rinse aid, loading, and drying system.
If your dishwasher is not drying dishes, identify whether the problem is droplets on a few plastics, moisture across the whole load, or standing water in the tub. Then check the exact model's cycle and drying options, refill rinse aid as directed, correct the loading, and run one comparable test load before assuming a heater or control has failed.
Those three results are not the same fault. Wet plastic may be normal for the selected cycle and drying system. A uniformly cold, wet load suggests the selected option or a heating problem. Water pooled below the filter after the machine should have drained belongs in a drainage diagnosis, not a drying fix.
Find the manual and name the drying system
Use the model number on the door edge or frame to find the manufacturer's manual. Do not diagnose by brand alone. Two machines from the same brand may dry in different ways, and a control-panel label such as “Extra Dry” or “Dry Boost” has meaning only for that model.
| Drying approach | What it does | What the owner should check |
|---|---|---|
| Heated dry | An electric element adds heat during the drying phase on models built for it | The selected cycle and option, loading restrictions near the element, and the manual's expected result |
| Condensation drying | Heat retained by the load helps moisture evaporate; moisture then condenses on cooler stainless interior surfaces and drains | Rinse aid, hot-rinse performance, loading, and whether plastic is the main material staying wet |
| Fan-assisted drying | A fan moves moist air within or out of the tub according to the product design | Blocked vents, the selected option, and unusual fan noise or an error code |
| Automatic door opening | The machine opens the door near the end when that feature and option are active | Whether the feature exists, is enabled, and has clearance to operate |
| Mineral-assisted drying | On certain Bosch CrystalDry models, a zeolite mineral stores moisture and releases heat during drying | The model instructions and that the intake and blow openings are not blocked |
The old draft of this advice had those technologies backwards. Bosch documents PureDry, AutoAir, and CrystalDry on different products; its CrystalDry manuals describe zeolite-assisted drying. Miele documents AutoOpen drying on applicable models. The model sheet settles the question.
Run one controlled test instead of changing everything
Choose a normal mixed load with dishwasher-safe glass, ceramic, metal, and a few plastic pieces. Photograph the rack before starting. Use the detergent, rinse-aid setting, cycle, and drying option recommended by the manual for that soil and load. Changing five settings at once may produce a drier load, but it will not show which change mattered.
- Check the dispenser. Fill rinse aid to the indicated level and wipe spills. Do not pour it into the tub.
- Choose a full drying option. A quick, express, eco, air-dry, or energy-saving selection may trade drying time or added heat for lower energy use. Read the cycle table rather than guessing from the name.
- Load for drainage. Leave space between pieces. Angle cups and recessed bases so they do not hold puddles. Keep tall items from blocking spray arms, vents, detergent delivery, or mineral-system openings.
- Use the hot-water preparation the manual specifies. Some manufacturers tell owners to run the nearby faucet until hot before starting; others design around different conditions. Do not raise the household water-heater setting just to troubleshoot drying.
- Let the full cycle finish. Do not open the door mid-cycle. Wait for the manual's stated end-of-cycle period or let an automatic-opening feature operate.
- Record the result by material and location. Note droplets, pooled water on item bases, temperature, cleanliness, tub water, and any code or unusual sound.
Read the result before taking another step
Only plastic and concave item bases are wet: that points toward material and loading rather than a failed part. Plastic does not retain heat as well as ceramic, glass, or metal. Re-angle the pieces, keep dishwasher-safe plastic in the rack position the manual specifies, and use the recommended drying option.
The entire clean load is damp but the tub is drained: verify that the intended drying option actually activated and that rinse aid dispensed. Repeat once with the same load pattern. If the second result is still uniformly wet or cold, document it for service.
Food or detergent remains: solve the cleaning problem first. A blocked spray arm, incorrect loading, clogged removable filter, water-supply issue, or detergent problem can leave a poor final rinse and a poor-looking dry result. Follow the dishwasher filter guide and the model's spray-arm instructions. Do not poke nozzles or remove parts unless the manual permits it.
Standing water remains: a small amount in a designed sump can be normal, but water covering the filter area or returning after the cycle needs the manual's drainage checks. Stop for sewage odor, a leak, or water near electrical parts.
Rinse aid helps, but the setting is not “more is better”
Bosch tells owners to add rinse aid and leave enough space between items when drying is poor. Whirlpool says rinse aid works with its heated-dry options to help remaining water drain from dishes and the tub. That is a solid first check across many models, but the adjustment range and refill indicator differ.
Increase the dispenser setting one step only when the manual says to and droplets remain. Reduce it if the manual ties streaking, foaming, or residue to excessive dispensing. If the reservoir empties abnormally fast, leaks down the door, or will not release product, call for service. Pouring extra product into the wash chamber is not a shortcut.
Do not turn the water heater into the experiment
Dishwashers often depend on an adequate incoming-water temperature, and many U.S. manuals reference about 120°F at the appliance. That is not a universal instruction to turn every water heater to 120°F or higher. The dishwasher manual, water-heater manual, household scald risk, plumbing layout, and local requirements all matter.
If the appliance manual calls for a temperature check, use its method. Some direct the owner to run hot water at the nearest faucet before starting. A qualified technician or plumber should investigate a large temperature mismatch, cross-connection, failed heater, or supply problem. The earlier claim that NSF/ANSI 184 tests dishwashers against a household 120°F setting was wrong and has been removed; the sanitation standard is not a troubleshooting setpoint.
The 4Homes weekly email
Every Tuesday: what changed for homeowners this week, plus our newest guides.
No spam. Unsubscribe anytime.
Safe homeowner checks and firm stop points
| Reasonable homeowner scope | Technician scope |
|---|---|
| Read the manual and select the intended cycle and option | Test an element, fan, sensor, thermostat, wiring, control, or vent actuator |
| Fill and adjust rinse aid as directed | Repair a leaking or failed dispenser |
| Reload and clean a user-removable filter | Remove panels, racks, pumps, or hard-wired parts for diagnosis |
| Check for a visible blocked spray path or kinked accessible hose | Correct supply, drain, pump, or installation faults |
Stop immediately for smoke, a burning smell, melted plastic on an element, a shock or tingle, a tripped breaker, leaking water, damaged wiring, or a code the manual treats as service-only. Switch off power only from a safe, dry location if the instructions and conditions allow it. The dishwasher start guide covers the no-power boundary without opening the appliance.
What repair may cost
Angi's 2026 national guide puts dishwasher repair at $75 to $600, with about $225 for a standard repair. It lists heating-element replacement at $150 to $300 and control-board replacement at $200 to $400. Those are planning ranges, not a diagnosis or local quote. Brand, age, access, parts, labor minimums, and whether another problem caused the failure can move the total.
Ask the technician to separate the diagnostic fee, part, labor, shipping, and warranty. Request the error history and failed-part evidence in writing. If the unit is older or the estimate is large, compare the complete repair with delivery, installation, haul-away, cabinet or plumbing changes, and warranty on a replacement. Do not replace a machine because a quick cycle left plastic lids damp.
Save money without repeating wet loads
Use one test load, not three speculative cycles. Gather the model number, manual, cycle selection, photos, error codes, and a short description of which materials stayed wet before calling. Check warranty and any service bulletin tied to the exact model. That preparation can shorten a paid visit.
For routine care, clean only the user-serviceable filter and spray components on the manual's schedule, keep rinse aid at the correct level, and load so water can leave recessed surfaces. If the machine is also slow, noisy, or leaving debris, read the filter-cleaning steps before treating drying as an isolated fault.
Sources used
Bosch Home Appliances, Dishwasher Is Not Drying support and model-specific manuals covering PureDry, AutoAir, and CrystalDry; Whirlpool Product Help, Dishes Not Drying: Quick Fix Guide and Using a Heated Dry Cycle; Miele model manuals covering AutoOpen drying; Angi, How Much Does Dishwasher Repair Cost? (2026 data); and the exact use-and-care manual for the dishwasher being diagnosed.
Frequently Asked Questions
Why are my dishes still wet after the dishwasher finishes?
First compare the result with the model manual. An empty rinse-aid dispenser, a cycle or option with less drying, crowded loading, and plastics that shed heat quickly are common explanations. Standing water in the tub, dirty dishes, an error code, or no heat points to a different problem than a few droplets on plastic.
Why does plastic stay wet in the dishwasher?
Plastic stores less heat than glass, ceramic, or metal, so water evaporates less readily and can remain in rims and recessed bases. Load dishwasher-safe plastic where the manual directs, angle pieces so they drain, and use the recommended rinse aid and drying option. Do not move plastic close to an exposed heater unless the manual permits it.
Should I open the dishwasher door after the cycle?
Only follow the instructions for your model. Some dishwashers have an automatic door-opening option, while other manuals tell users when it is safe to open the door after a cycle. Do not assume that manually cracking every dishwasher is required, and do not interrupt a running cycle to release hot steam.
Does rinse aid help a dishwasher dry dishes?
Yes. Bosch and Whirlpool both recommend rinse aid for better drying because it helps water sheet off surfaces instead of remaining as droplets. Fill and adjust the dispenser only as the manual directs. Too much can leave residue, and a leaking dispenser needs service rather than repeated refilling.