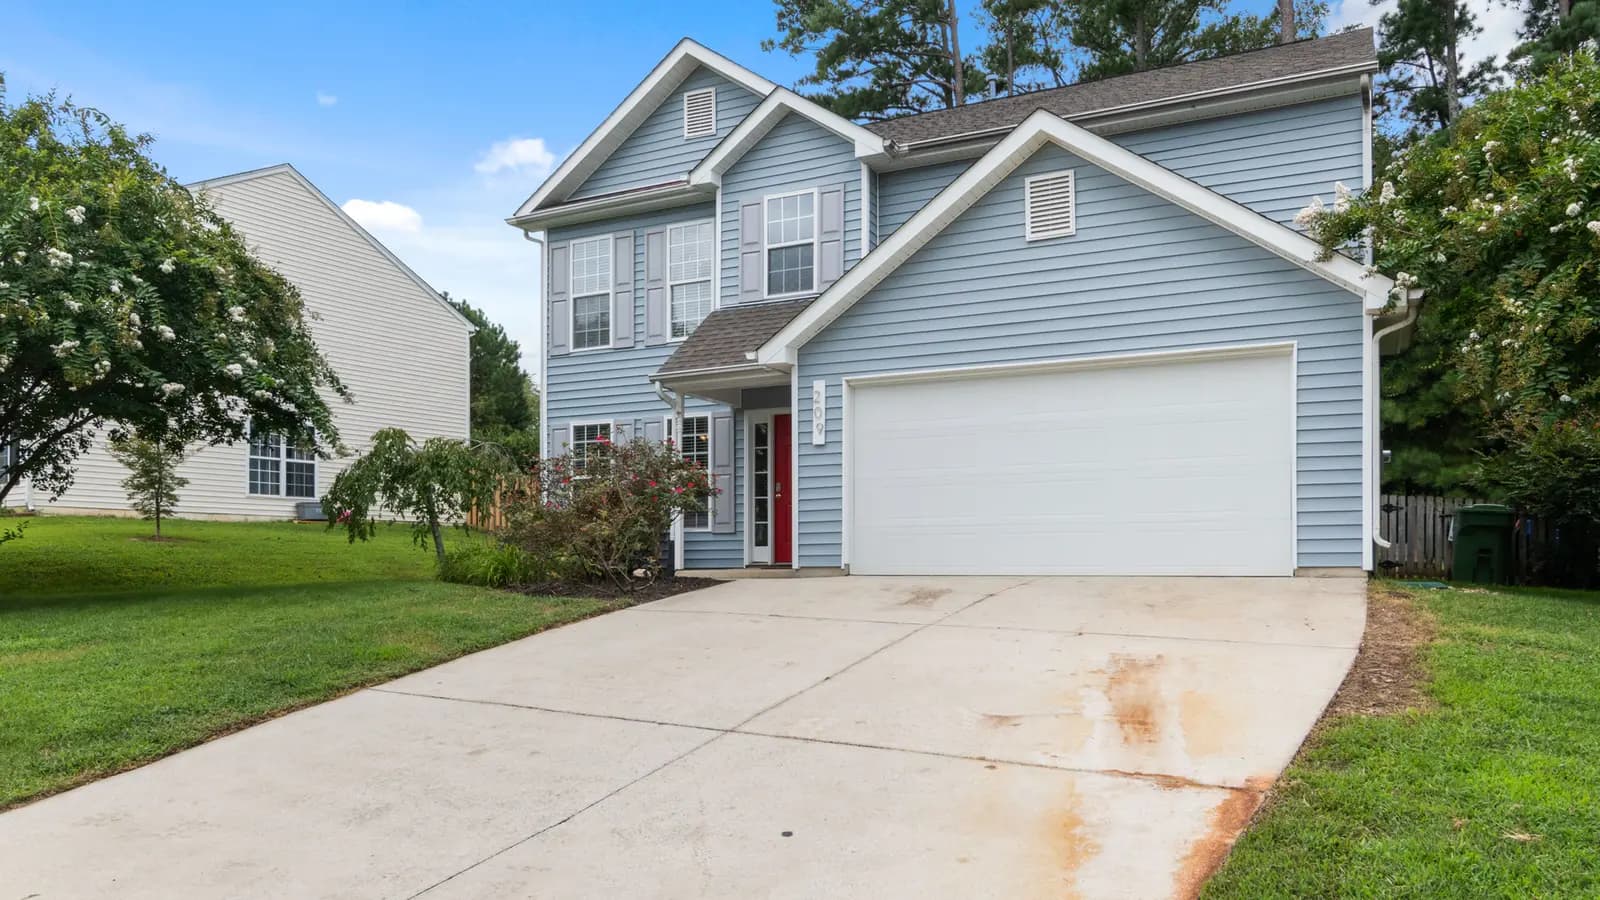
Separate a worn flexible seal from bottom-section, retainer, floor, cable, spring, and opener problems before choosing the matched replacement.
Replace a garage door bottom seal only after confirming that the weatherstrip, not the bottom section, floor, track, spring, cable, or opener, is causing the gap. Match the retainer profile and door width, keep away from bottom brackets and lift cables, and test travel, photo eyes, and automatic reversal after installation.
A seal can block light, drafts, leaves, and some wind-driven water. It cannot straighten a bent door or bridge a large slab depression safely.
Seal replacement and bottom-section replacement are different jobs
| What you see | Likely issue | Next step |
|---|---|---|
| Torn, hardened, flattened, or missing flexible strip | Bottom seal | Identify the exact attachment and replace under the door instructions |
| Loose, bent, or corroded metal or plastic channel | Retainer | Professional assessment, especially near brackets or cables |
| Rigid lower panel is bent, cracked, rusted through, or separating | Bottom panel or section | Garage-door technician; do not remove bottom fixtures |
| One corner sits higher and the door looks crooked | Track, cable, spring, roller, or structural geometry | Stop operation and call a technician |
| Door is level but concrete dips under part of it | Floor geometry | Measure the dip and review slab or threshold options without blocking drainage |
| Door closes, touches, then reverses | Seal fit, travel, force, obstruction, or safety-system issue | Do not increase force; remove the cause or arrange service |
The bottom brackets are especially important. Lift cables attach at or near them and can remain under high spring tension even when the door is open. Do not loosen a bracket, cable, spring, drum, or set screw to make a weatherstrip job easier.
Inspect the closed door before buying anything
Operate the door from a safe position and watch one complete open-close cycle. Stop if it jerks, drops, binds, leaves a cable slack, comes off track, or makes a new grinding or popping sound. A heavy or unbalanced door can fall.
With the door closed, inspect from inside during daylight. Mark gaps with painter's tape and measure their height at several points. Look outside for cracked concrete, a high spot, standing water, or a driveway that slopes toward the opening. Use the gutter and drainage check if roof runoff reaches the garage.
Push lightly on the flexible seal, not the door. If it is brittle, torn, permanently flat, or missing while the rigid lower section remains straight, a seal replacement may fit. If the bottom edge is bowed or the section skin has separated, the query may say "garage door bottom section replacement," but the needed work is not weatherstripping.
Identify the retainer and seal profile
Open the manufacturer's door manual and parts diagram. Record the door maker, model, width, material, and section design. Photograph the retainer from the end and underneath without placing yourself under a moving or unsupported door.
Common attachments include single- or double-channel retainers with T-shaped ends, beads, bulb seals, tongue-and-groove styles, and seals fastened directly to some wood doors. Names vary across sellers. Dimensions and cross-section must match.
If the manual allows removal of a small sample without touching brackets, cut or slide out a short end piece after disabling the opener and securing the door as directed. Measure the channel spacing, end shape, seal height, and overall door width. Do not rely on the old seal's flattened height alone.
Choose a seal that fits the measured gap
A larger bulb is not automatically better. It must compress enough to contact the floor without folding, dragging, lifting the door, or forcing the opener to push harder. The seal should shed water outward rather than create a trough at the threshold.
Match material guidance to the exact door and seal. Clopay, for example, tells shoppers in cold climates to look for a product specifically designed to remain flexible there, while still directing installation by the manufacturer's instructions. Treat that as selection guidance, not proof that one generic material fits every climate. For attached garages, a bottom seal is not a substitute for maintaining the separate door between the garage and living space.
A bottom seal can close a measured perimeter gap, but no source supports a universal utility-bill saving. Garages differ in insulation, conditioning, wind exposure, and connection to the home.
Plan the cost before starting
Retail category pages combine flexible strips, retainers, thresholds, kits, and specialty parts, so a broad price range is not reproducible or useful. Price the manufacturer-compatible part for the measured door, then compare the same scope at each seller.
| Cost item | What changes the price |
|---|---|
| Flexible seal only | Profile, width, material, length, and manufacturer-specific part |
| Retainer and seal kit | Door width, retainer material, fasteners, drilling, and old-channel condition |
| Professional weatherstrip service | Travel, diagnosis, door width, retainer work, opener testing, and local labor |
| Bottom-section repair | Door brand, section availability, finish match, hardware transfer, and spring setup |
| Floor or drainage correction | Slab geometry, water source, threshold compatibility, and vehicle clearance |
Do not compare a material-only price with a technician's diagnosis and tested installation. Ask the professional to separate seal, retainer, door repair, opener adjustment, and floor work. Use the contractor quote comparison when scopes differ.
Safe replacement sequence
- Read the door, opener, and replacement-seal instructions from start to finish.
- Clear vehicles and stored items. Keep children and pets out of the garage.
- Close the door and disconnect automatic operation according to the opener manual. Do not pull a release on a visibly damaged or unbalanced door.
- Use only the working position and securing method stated in the door and seal instructions. If neither document provides one, stop and ask the door manufacturer or a trained technician.
- Keep hands, tools, and fasteners away from bottom brackets, lift cables, springs, drums, tracks, and rollers.
- Remove the old flexible seal by the documented method. Do not pry or cut into the retainer.
- Clean the channel only with the tool and cleaner named in the replacement instructions. A bent, sharp, corroded, or loose retainer belongs with the door maker or a technician.
- Use lubricant only if the seal or door instructions name one, and use that exact type. If the documents are silent, do not guess.
- Install the new seal by the documented feed, fastening, and alignment method. Do not add a helper technique that conflicts with those instructions.
- Trim and finish the ends as directed, allowing only the specified extra length or end treatment.
If the retainer will not accept the matched seal, stop. Drill or replace a retainer only when the door manufacturer's instructions explicitly cover that work and keep it clear of tensioned hardware. DASMA says bottom brackets connected to the spring system are under extreme tension and should be adjusted or loosened only by a trained door-systems technician.
Test the seal without defeating the opener
Move the door by hand through a full cycle only when the manual says it is safe and the door remains stable. The seal should stay in the retainer, clear the tracks, and contact the floor evenly when closed. It should not bunch or pull the door sideways.
Reconnect the opener under its instructions. Check photo-eye alignment and function. Then perform the opener maker's contact-reversal test with the specified object and procedure. CPSC warns that a garage-door opener that does not reverse properly presents an entrapment hazard.
Do not turn up closing force merely because a thick new seal causes reversal. Recheck profile, compression, folds, floor contact, retainer alignment, and door travel. If normal safe operation does not return, disconnect automatic use and call a trained technician.
The 4Homes weekly email
Every Tuesday: what changed for homeowners this week, plus our newest guides.
No spam. Unsubscribe anytime.
Check water after the next rain
A bottom seal is weatherstripping, not a flood barrier. Watch the opening during a normal rain from a safe indoor position. If water approaches from the driveway, address grading, drains, downspouts, or slab cracks. A tall threshold installed without a drainage plan can hold water against the door or create a trip and vehicle-clearance problem.
Dry the area and inspect for a continuous contact line. Small light leaks may show where the floor changes height. Large or changing gaps point back to door or slab geometry. Do not stack multiple seals or fasten loose material to the floor where it can interfere with door travel.
When to call a garage-door professional
Call immediately for a broken or stretched spring, loose or frayed cable, bent or off-track door, damaged bottom bracket, cracked section, falling door, severe imbalance, or opener that fails a reversal test. Keep the door closed if it can be left closed safely, and keep people away.
Professional help also makes sense for a bent retainer, a seal trapped behind tensioned hardware, a heavy wood door, no safe way to hold the door, or a large floor gap. If the bottom panel needs replacement, ask whether the exact section is available and how springs, cables, finish, and safety tests are included.
For a complete door proposal, use the garage-door replacement quote checklist. A failed seal by itself is not proof that the door needs replacement.
How to save money without creating a larger repair
Bring the old profile, measurements, door model, and clear photos to the parts counter. Buying the correct seal once is cheaper than opening packages by trial and error. Ask whether the manufacturer sells a seal-only replacement before buying a complete retainer kit.
Clean the channel and floor, but do not grind, bend, or drill the retainer casually. Schedule professional service during ordinary hours when the door can stay closed safely. Combine the seal inspection with the seasonal home-care calendar so flattening and tears are caught before water and debris become the first warning.
There is no honest universal energy-savings figure. The defensible savings are avoided repeat purchases, avoided opener damage from a binding seal, and earlier discovery of a door or drainage problem. Even those depend on acting before the defect grows.
Garage door bottom seal checklist
- The flexible seal, retainer, rigid bottom section, floor, and door geometry were diagnosed separately.
- Door model, width, retainer profile, channel spacing, and required seal height are recorded.
- Springs, cables, drums, rollers, tracks, and bottom brackets will not be loosened or removed.
- The replacement instructions identify the safe door position and approved lubricant or cleaner.
- The new seal contacts the floor without bunching, dragging, or lifting the door.
- Full travel, photo eyes, and automatic reversal pass the opener manufacturer's tests.
- Driveway drainage and slab gaps were checked after installation.
- Receipts, part number, measurements, and final photos are saved in the house file.
Garage door bottom seal FAQs
How do I know which garage door bottom seal I need?
Photograph the end of the existing retainer and remove only a short untensioned sample if the door manual permits it. Match the bead, T-end, bulb, tongue, or nail-on profile; retainer channel count and spacing; door width; and required finished height. A universal label does not prove it fits your door.
Can I replace only part of a garage door bottom seal?
A full-width replacement is usually the more reliable repair because a patch creates joints and uneven compression. Follow the door and seal instructions. If the retainer is damaged or the bottom bracket and cable are involved, stop and use a trained garage-door technician.
Will a new bottom seal fix an uneven garage floor?
It can close a small, consistent gap when the door is level and the selected seal is designed for that compression. It will not correct a badly sloped slab, sunken section, bent retainer, out-of-square door, or balance problem. Diagnose the geometry before buying an extra-thick seal.
Why does my garage door reverse after replacing the bottom seal?
The new seal may be the wrong profile, folded, or binding. Do not increase closing force. Recheck the documented fit and installation, then arrange service if normal travel and reversal do not return.
Is the garage door bottom seal the same as the bottom panel?
No. The seal is flexible weatherstrip; the bottom panel is the rigid door section above it. A damaged section or work involving its bottom brackets and lift cables belongs with a trained technician.
Frequently Asked Questions
How do I know which garage door bottom seal I need?
Photograph the end of the existing retainer and remove only a short untensioned sample if the door manual permits it. Match the bead, T-end, bulb, tongue, or nail-on profile; retainer channel count and spacing; door width; and required finished height. A universal label does not prove it fits your door.
Can I replace only part of a garage door bottom seal?
A full-width replacement is usually the more reliable repair because a patch creates joints and uneven compression. Follow the door and seal instructions. If the retainer is damaged or the bottom bracket and cable are involved, stop and use a trained garage-door technician.
Will a new bottom seal fix an uneven garage floor?
It can close a small, consistent gap when the door is level and the selected seal is designed for that compression. It will not correct a badly sloped slab, sunken section, bent retainer, out-of-square door, or balance problem. Diagnose the geometry before buying an extra-thick seal.
Why does my garage door reverse after replacing the bottom seal?
The new seal may be the wrong profile, folded, or binding. Do not increase closing force. Recheck the documented fit and installation, then arrange service if normal travel and reversal do not return.
Is the garage door bottom seal the same as the bottom panel?
No. The seal is flexible weatherstrip; the bottom panel is the rigid door section above it. A damaged section or work involving its bottom brackets and lift cables belongs with a trained technician.