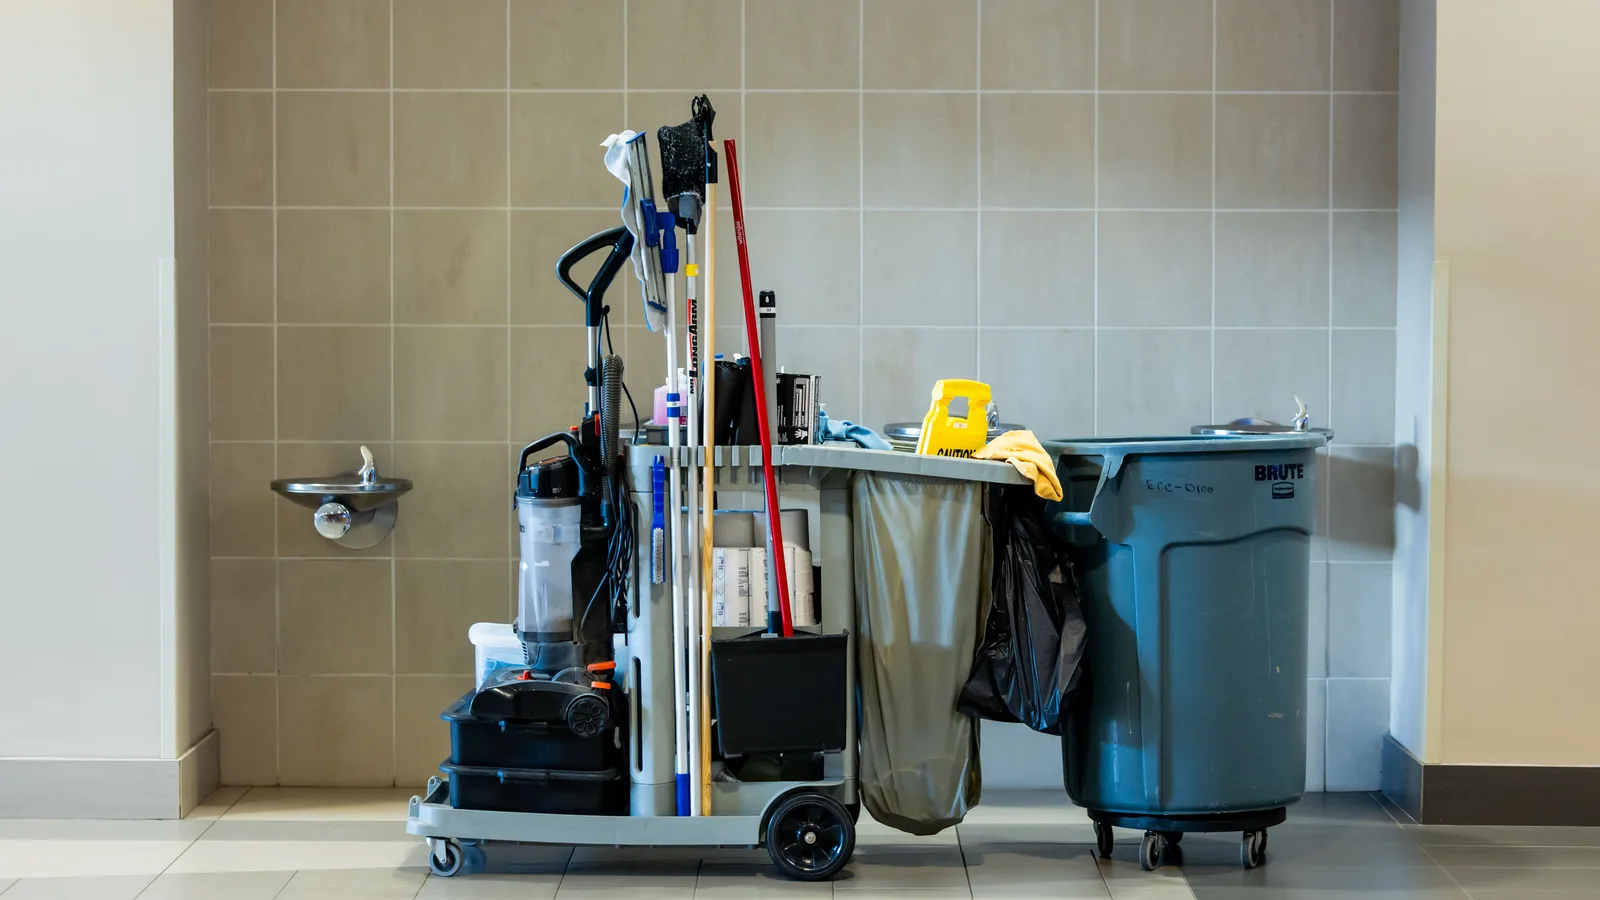
Protect equipment access first, then assign measured zones to the vacuum, long tools, daily supplies, and limited backups.
Organize a utility closet by marking equipment and service-access zones first, then assigning separate space to long tools, bulky equipment, daily supplies, and limited backups. Measure the vacuum, broom handles, shelves, door swing, and retrieval path before buying an organizer. Keep chemicals in original labeled containers and never trade safe equipment access for another storage shelf.
A utility closet is a working storage area for household upkeep tools and supplies, sometimes shared with installed mechanical, plumbing, or electrical equipment. Its layout must support safe operation, inspection, retrieval, and return. It is not an overflow closet for anything without another home.
Identify which kind of closet you have
An empty broom closet and a closet containing a water heater, air handler, electrical panel, plumbing manifold, filter slot, pump, or controls are different projects. Record every model label you can see without removing a cover. Find the manuals and mark doors, panels, drains, valves, filters, vents, louvers, piping, wiring, and the route a technician needs to reach them.
Do not invent a universal clearance. The installed equipment instructions, listing, fuel type, local code, and service needs determine what must remain open. Never cover ventilation openings, place material on equipment, hang tools from piping, or stack products in a drain pan. If boundaries are unclear, ask the appropriate licensed HVAC, plumbing, electrical, or water-heating professional before adding storage.
For a closet without installed equipment, still check for an access panel, receptacle, shutoff, alarm, or hidden leak history. Photograph the empty space and measure usable width, depth, shelf spacing, door opening, and floor area. “Usable” means an item can be removed without twisting it through the door or unloading a whole shelf.
Run a one-closet inventory
Remove items only when it is safe to do so and keep products upright. Group them by job: floor care, general cleaning, laundry support, paper and cloth supplies, household maintenance, appliance parts, and refills. Create a relocation group for food, medicine, personal care, paint, pesticides, fuels, loose batteries, sentimental items, and tools that belong in a safer or more useful location.
Read every product label before deciding where it belongs. The U.S. Environmental Protection Agency says household hazardous products should remain in their original containers with labels intact and should never be stored in food containers. A leaking, corroded, swollen, or unidentified container needs local hazardous-material or fire-department guidance; do not open it, smell it, or pour it into another bottle.
Limit backups to a defined shelf or bin. When that zone is full, adding a second overflow zone hides inventory and pushes daily tools into the walkway. Keep only quantities the household can rotate and inspect. An unopened product is not a saving if it leaks, expires under its label, or prevents access to equipment.
Build the layout in this order
- Mark no-storage areas. Use removable tape to show equipment, controls, ventilation, valves, filters, panels, drain pans, door swing, and service routes that remain clear.
- Park the largest essential item. Give the vacuum, bucket, or other bulky tool a floor position from which it can leave without moving chemicals or long handles.
- Reserve a tall-tool bay. Measure the complete broom, mop, duster, and attachment. Use a stable corner or rated wall holder without blocking the door.
- Set the daily shelf. Place frequently used, label-compatible supplies at an accessible height, secured as the household requires.
- Contain small accessories by task. Keep vacuum filters with vacuum parts and floor pads with floor tools rather than creating one miscellaneous bin.
- Cap backup stock. Use one visible zone for refills and open the oldest suitable product first.
- Test removal and return. Retrieve the vacuum, mop, daily caddy, filter, and shutoff access in normal order. Change any zone that requires repeated unloading.
Real Simple's utility-closet guidance puts the vacuum on the floor, everyday supplies at eye level, and lower-use lightweight items above. Treat that as a retrieval principle, not a fixed design. A household with children, pets, limited reach, mobility equipment, or installed mechanical equipment needs different access and security.
Match storage to the actual obstruction
| Problem | Storage response to test | Boundary |
|---|---|---|
| Brooms and mops fall across the door | Rated wall holder or measured vertical bay | Mount into a suitable surface; let wet tools dry as directed |
| Vacuum accessories disappear | One labeled bin or shelf directly above the vacuum | Do not cover charger ventilation or overload a door |
| Deep shelf hides small supplies | Shallow task bins that slide out independently | A bin must not conceal leaks or require overhead lifting |
| Refills crowd daily products | Fixed-capacity backup zone | Labels, security, compatibility, and rotation still apply |
| Door space is empty | Lightweight rated organizer after a clearance test | Door must close and hinges must support the loaded system |
| Installed equipment consumes the closet | Reduce inventory or relocate storage | Never claim required operating or service space |
An over-door rack can look efficient while striking a shelf, blocking a louver, overloading hinges, or preventing the door from closing. Load it with sample weight, open and close slowly, and check every shelf edge. Permanent hooks and tracks need fasteners suited to the wall and the maker's load instructions; adhesive claims do not override heat, humidity, paint, or surface limitations.
Store products safely, not just neatly
Keep each chemical in its original labeled container, upright, closed, and within any temperature and ventilation limits on the label. Use a compatible tray when it can reveal and contain a small leak without encouraging incompatible products to share one catch basin. Do not combine cleaners, top off one product with another, or place a leaking bottle above eye level.
Secure products from children and pets using the controls appropriate to the household and the label. “Out of reach” can fail when a child climbs a vacuum or pulls a door organizer. The cleaning-supply organization guide covers original containers, label review, separation, disposal, and household access in more depth.
Keep loose batteries away from metal objects and follow chemistry-specific storage and recycling instructions. The household battery storage guide explains terminal protection and damage checks. Do not turn the utility closet into a mixed battery, paint, pesticide, fuel, and cleaner cabinet merely because all of those products are used for maintenance.
The 4Homes weekly email
Every Tuesday: what changed for homeowners this week, plus our newest guides.
No spam. Unsubscribe anytime.
Protect fixed equipment and emergency access
Stand at the closet door and trace how someone would reach a shutoff, filter, panel, or alarm during a problem. Nothing should need to be balanced on a water heater, moved across a wet floor, or pulled from above a person's head. Keep the floor visible around drain pans and piping so a leak is noticed rather than absorbed by cardboard.
Electrical panels require a clear working space set by applicable rules; do not place shelving, a vacuum, hooks, or cleaners in front of one. The electrical-panel safety guide keeps the homeowner check outside the installed cover and identifies heat, odor, buzzing, corrosion, and repeated trips as professional concerns.
If the closet contains a water heater, furnace, boiler, or air handler, do not store combustible, flammable, aerosol, or heat-sensitive material near it by guesswork. Preserve combustion air, return air, louvers, vents, filters, controls, drain paths, and access required by the model and local rules. Gas odor, a carbon-monoxide alarm, scorching, active leaking, or damaged venting ends the organization project and calls for urgent appropriate help.
Plan the full cost and save in the right order
Cost planning begins with removal, relocation, and measurement because those steps may solve the closet without a purchase. If storage is still needed, compare the complete scope: bins, trays, labels, broom holder, shelf or door system, fasteners, lock or latch, wall repair, and professional installation. Current listings from major home-storage retailers and each organizer manufacturer can provide planning costs, but the useful comparison includes dimensions, load rating, material compatibility, warranty, return terms, and required tools.
Save by assigning zones with painter's tape and spare boxes for a week. Buy one organizer only after the test exposes a repeated obstruction. Reuse a sound bin when it fits the shelf and the category, but do not reuse food packaging for hazardous products or a damaged cardboard box below plumbing. A clear floor and less inventory often outperform another tower of containers.
Professional work is appropriate when a shelf, wall track, or door system needs uncertain anchoring; when the wall may contain wiring or plumbing; when installed equipment, required clearances, or ventilation are involved; or when a leak, electrical issue, or pest problem is present. A storage installer cannot redefine an equipment service boundary. Ask the relevant trade first.
Use a short reset that the closet can survive
After each use, return tools only when clean and dry enough for their instructions. Close products, wipe the outside of sound containers when permitted, and put the daily caddy back without blocking the vacuum. Periodically check for leaks, corrosion, damaged packaging, expired label dates, loose mounts, overloaded hooks, pests, and supplies that migrated into the no-storage zone.
Use the step-stool storage guide before adding climbing equipment to a tight closet. A stool must have its own dry, stable retrieval space and cannot become the method for reaching products that should be secured or stored lower. If safe access requires emptying the closet, the system has exceeded its capacity.
The finished closet should pass three tests: daily items leave and return without moving another category; every installed system remains visible and reachable; and anyone using the space can identify where an item belongs without opening several unlabeled bins. If one fails, reduce or relocate inventory before buying more storage.
Sources used
U.S. Environmental Protection Agency household hazardous-waste guidance; U.S. Consumer Product Safety Commission household product and recall guidance; Real Simple, utility-closet organization guidance; the exact product labels and safety data supplied with household products; installed water-heating, HVAC, plumbing, and electrical equipment manuals; storage-system manufacturer instructions; and applicable local fire, building, electrical, waste, and equipment-service requirements.
Frequently Asked Questions
How do I organize a small utility closet?
Reserve access for any installed equipment first, then give the vacuum and long tools measured floor or wall zones. Put frequently used supplies at easy reach, backups within a fixed shelf limit, and lightweight occasional items higher only when they can be retrieved safely. Buy organizers after testing the layout.
What should be stored in a utility closet?
Store the household tools and supplies that the closet can hold safely: often a vacuum, broom, mop, cleaning cloths, labeled products, and limited refills. Keep food, medicines, combustible products, wet tools, loose batteries, and anything that conflicts with equipment or product instructions elsewhere.
Can cleaning products be stored in a utility closet?
Yes, when each product label permits the location and the closet is secure from children and pets. Keep products in original labeled containers, upright and contained for leaks. Do not combine leftovers, transfer chemicals into food containers, or assume that visually matching bottles are safe storage.
How do you store brooms and mops in a utility closet?
Measure the full handle and head, then use a manufacturer-rated holder attached to a suitable surface or reserve a stable vertical bay. Let wet mop heads dry as their instructions require before closing them in. Keep handles out of the doorway, equipment access, and the vacuum retrieval path.
Can I use the space around a water heater or furnace for storage?
Do not treat that space as ordinary storage. Follow the exact equipment manual, fuel and fire-safety requirements, local rules, and service-access needs. Keep controls, vents, combustion air, piping, drain pans, electrical equipment, filters, and the technician's route clear; ask the appropriate licensed professional when boundaries are unclear.